I have a new card this morning for you ! And yes, it is still a card from the new Floral Collection at Elizabeth Craft Designs.
Here's the tutorial:
Step 1: Card base
- Cut a rectangle 11 X 5 1/2 in some White Soft Finish Cardstock, fold it lengthwise at 5 1/2, to make a square card 5 1/2 X 5 1/2.
- Cut a square 5 1/4 X 5 1/4 in some cupper mirror cardstock.
- Cut a 4 1/2 X 4 1/2 square in some Summer Act cardstock #C003.
- Using the Pizza Box #1781 die set, die cut a scallop frame in the cupper mirror cardstock.
- In some White Soft Finish Cardstock, die cut the circle in the same Pizza Box die set.
- Finally, also in the cupper mirror cardstock and the Pizza Box die set, die cut the small circle.
- Using some Gathered Twig Distress Oxide and a finger sponge dauber, shade the edges of the card base and the scallop circle.
- With some Clear Adhesive Tape, adhere each layer on top of the other.
Step 2: Ginkgo
- Using the Ginkgo die set from the Floral Collection, die cut the longest branch in some White Soft Finish Cardstock.
- Dip the branch and leaves in some Versamark Clear embossing pad.
- Sprinkle unevenly some Seth Apter Chunky Rust Baked Texture Embossing Powder, heat with heat tool, until completely set.
N.B. I made a sample book with the Essential Planner dies set, it helps when I need to choose a texture or a product from all my craft supplies. It took quite a bit of time to start but now, when ever I buy a new product, I just add it to the book. It is easy to find what I need since they are all separated by brand and than by type of products. For more details, I made a tutorial on this blog that you can read here.
Step 3: Flowers
- Using the Floral 3 #1775 die set, die cut in some pale yellow one large flower, two medium and one small.
- Taking a make-up applicator, apply a small touch of green Pan Pastel in the center of each flower.
- Shape the flowers on a foam pad using tweezers on the back of each petal (or any other fitted toll you have).

- Cup with the tip of a pen (or a small ball stylus)
- Using a finger sponge dauber, shade the tips of the petals with some Rusty Hinge Distress Oxide.
- Using some Kids Choice Glue and a toothpick, glue the Ginkgo and the flowers on the base card.
- Glue a small pearl in the center of each flower.
Finish card:
Here's a final and closer look at the finish card. I hope you enjoyed this tutorial ! If so please leave a comment after your visit, I would love to hear from you !
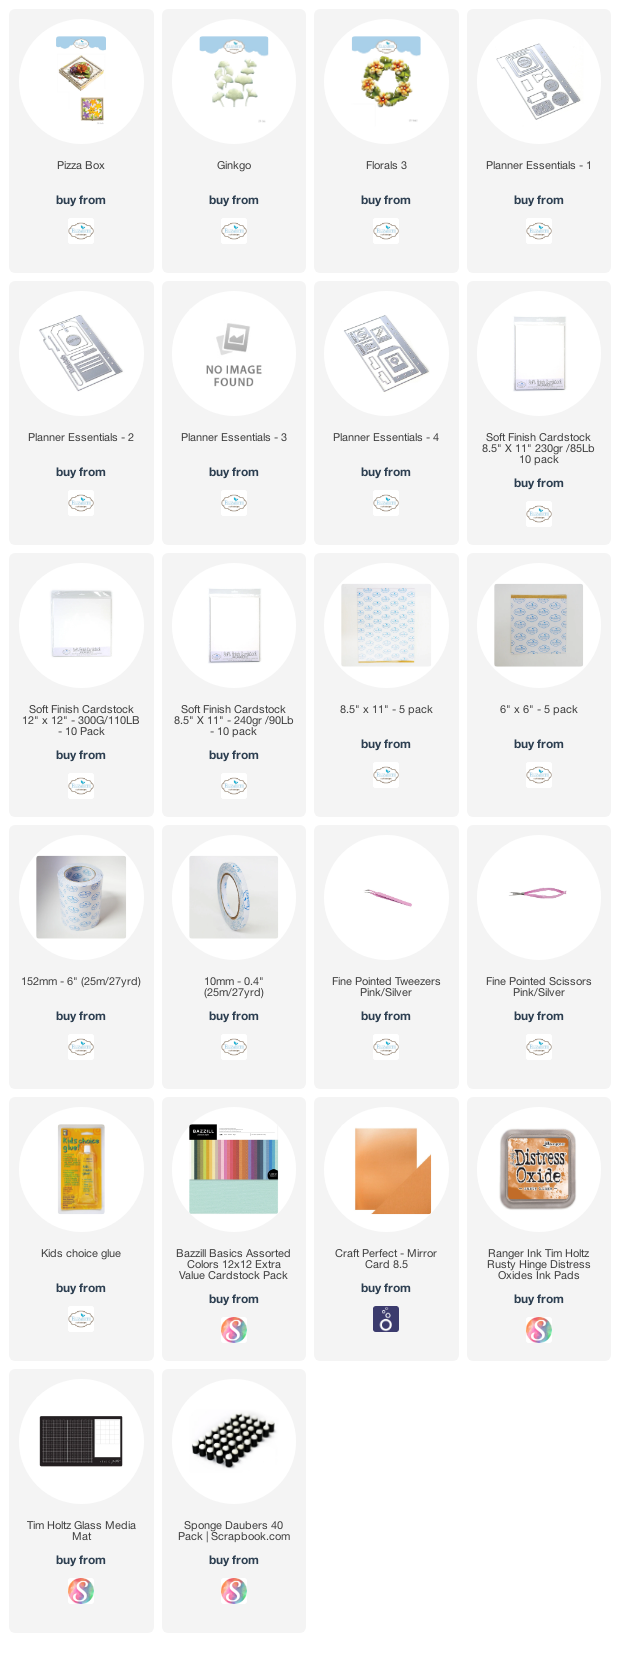
List of the products used on this card:


No comments:
Post a Comment