Hello everyone !
This morning I propose to you a card showcasing some of the new dies from Elizabeth Craft Designs in the Floral Collection - that will be on there website pretty soon. Also on this card, were used some dies from Joset also at Elizabeth Craft Designs.
Here's the tutorial.
Step 1 : Background
- Start with a 6 X 12 piece of White Soft Finish Cardstock, folded at 6, to make a 6 X 6 card.
- Cut a black cardstock square - 5 7/8 X 5 7/8.
- Cut a yellow cardstock square - 5 3/4 X 5 3/4.
- Adhere all the layers one on top of each other.
- Using Elizabeth Craft Designs dies Organic Triangle Background #1799, die cut into a piece of black cardstock.
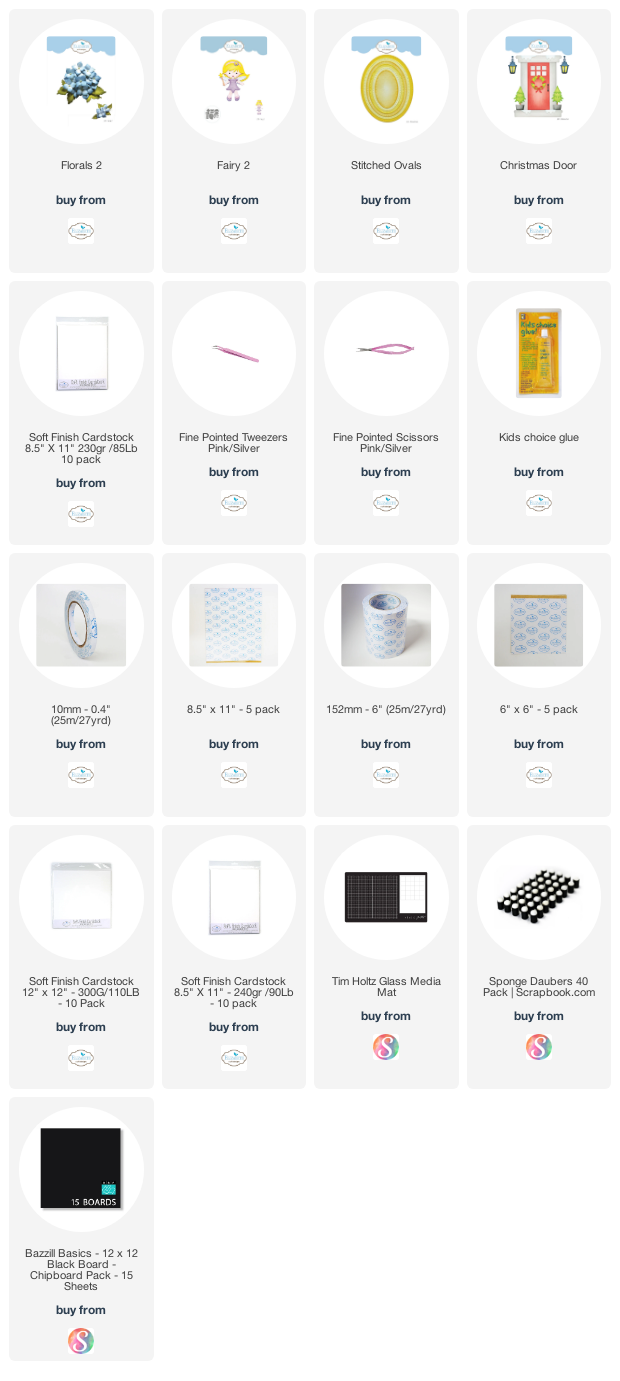
- Using the Stitched Oval #1113 dies set (also from Elizabeth Craft Designs), die cut a frame using the 2 largest dies combined also in black cardstock, lined with Clear Double Sided Adhesive.
- Adhere the oval frame onto the Organic Triangle background. Cut the excess around the frame.
Step 2: Flowers and leaves
- Die cut flowers and leaves from Elizabeth Craft Designs Florals 2 #1295. (Available only in your favorite craft store for now.)
- Color them with Distress Oxide and a finger sponge dauber. Shape the flowers and the leaves with any kind of round object (stylus, back of a small spoon, etc.)
Step 3 : Fairy
- From the Story Book collection at Elizabeth Craft Designs, die cut all the parts for the fairy in the set Fairy 2 # 1793, except for the dress.
- Die cut the lantern using the die set Christmas Door #1689 from Elizabeth Craft Designs.
- Dress-up the fairy using the leaves dies in the set also from Elizabeth Craft Designs Florals 2 #1295. (Available only in your favorite craft store for now.)
Final step: Putting everything together !
- Center the oval frame on the card and adhere with Double Sided Adhesive Tape.
- Adhere the fairy on the right side of the card using foam dots. Attache the lantern in her hand.
- Using Kids Choice Glue, adhere all the flowers and leaves around the oval. Keep one small flower to glue into the fairy's hair.
Here's a final look at that card, I sure hope you like it !
Products used on this card:


No comments:
Post a Comment