
Today I have a tutorial for you to make some wine bottle tags. I used Elizabeth Craft designs dies from the new Floral Collection, Planner Essential Collection, the Watercolor Palette and some Silk Microfine Glitters.


Here are the steps followed for those tags:
Step 1: Tag base
- Using the Planner Essential 26 -Planner Pocket 4 - Tag & Poppers #1744, die cut the large tag in some White Soft Finish cardstock.
- Also from the same set, die cut the tag topper (see pictures) in some White Soft Finish cardstock, double with some Side Adhesive on the front of the cardstock.
- Remove partially the adhesive protector sheet and dip in some coordinated color of Silk Microfine Glitter. Remove the other part of the adhesive protector sheet and holding on with this piece on the glittered part, dip the remaining adhesive part in the glitter. Polish with the fingers to make the glitter really shinny.
- Cut a 4 1/2 X 2 3/4 rectangle in some Summer Act Cardstock #C003. Adhere on the tag piece with some Clear Adhesive Tape.
- On the top of the tag, adhere the glittered piece.


Step 2: Flowers
- On some White Soft Finish Cardstock, lightly spray some water.
- With a large very wet brush, put some Watercolors from the Watercolor Palette on the cardstock. I used some yellow, orange and red for the flowers and some greens and teal blue for the leaves. Let air dry.

- When dry completely dry, die cut the leaves and the flowers from the Elizabeth Craft Designs die set Floral1 #1773.
- Shape the flowers to give them dimension using the handle of the Fine Pointed Tweezers by pushing down the tweezers on the back of the flowers. You can push pretty hard to really shape the petals.
- Do the same with the leaves.


- Tap the petals and the leaves on a clear embossing pad and cover with some clear embossing powder.
- Melt the powder with a heating tool.
- Let the leaves and petals cool down, reshape a bit with the tweezers.

- Adhere the leaves and flowers on the tag with some Kids Choice Glue.
- Glue some gems in the heart of each flowers.
And here you go, you have some beautiful tags to use with a wine bottle or just like a regular tag with a gift.
I hope you enjoyed this tutorial and please check out the products used on this card below.
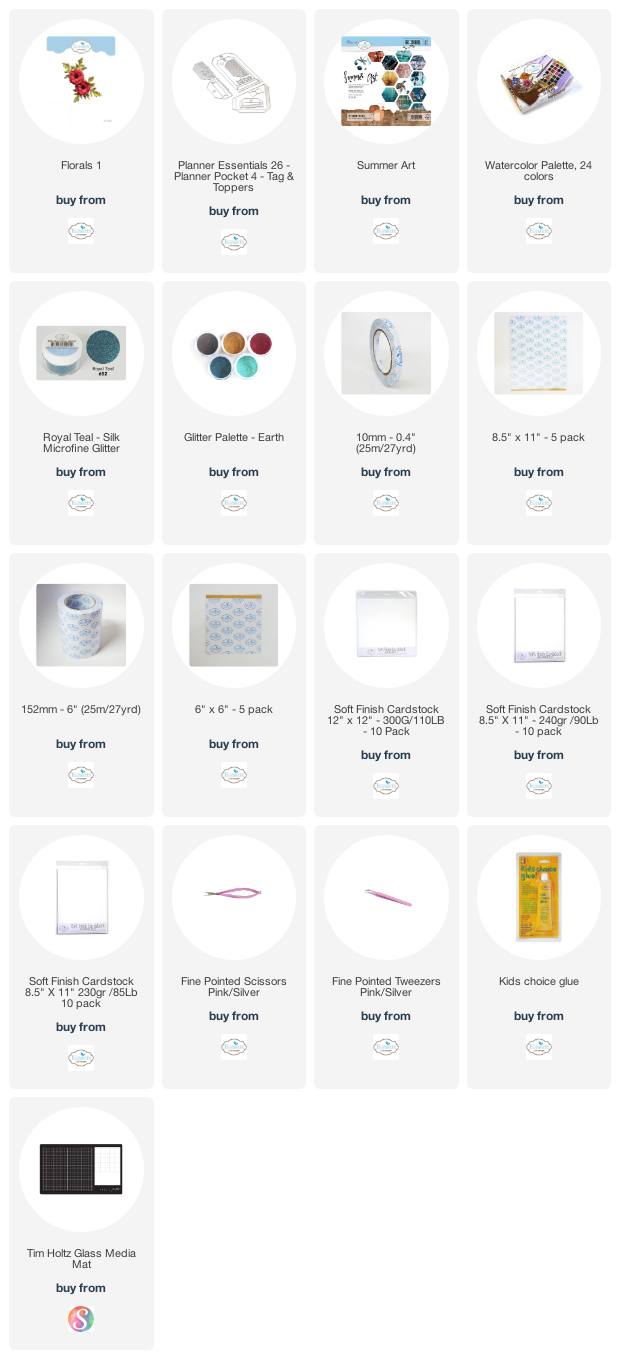
Products used on this card:
No comments:
Post a Comment