Hello everyone !
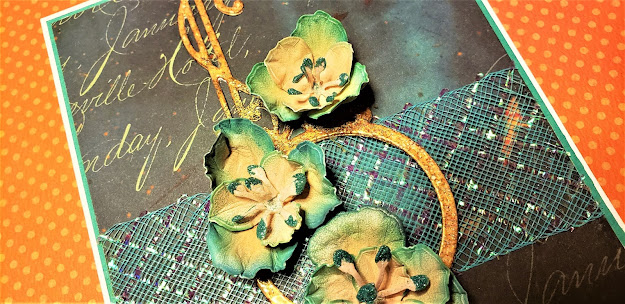
Today I'm showcasing some new products from Elizabeth Craft Designs in the Floral Collection.
Here's the tutorial.
Step 1: Background
- Cut a 10 X 6, fold at 5 inches, White Soft Finish Cardstock, to make a 5 X 6 inches card.
- Cut a rectangle 5 3/4 X 4 3/4 inches in some teal cardstock.
- Cut a rectangle 5 1/2 X 4 1/2 inches in some Elizabeth Craft Designs Summer Art patterned Cardstock.
- Adhere the layers on the card base with some Double Sided Tape.
- Cut a large ribbon strip and adhere on the card with some Kids Choice Glue.
Step 2: Ornament
- Die cut twice the ornament from the Elizabeth Craft Designs Elegant Ornament #1780 set on a White Soft Finish Cardstock, lined with some Double Sided Adhesive.
- Adhere the ornaments one on top of the other.
- Dip the top layer of the ornament in some Versamark (or any other clear embossing pad).
- Apply an uneven coat of the Baked Texture - Dirty Sand from Seth Apter on the ornament.
- Heat emboss as usual.
- Cut the top part of the ornament to fit the card.
- Adhere the ornament on the card base.
Step 3: Flowers
- Using the Elizabeth Craft Designs Flora 4 #1776, die cut one large flower, 3 medium ones and 2 small ones in some White Soft Finish Cardstock.
- Shade the petals using a finger sponge dauber and some colors of Distress Oxide to match the color of the patterned paper. Let dry.
- Using any round tool (for example, a stylus), shape the flowers as you like them.
- With Kids Choice Glue glue the petals two by two, one larger with one smaller, off setting the petals.
- Using the Elizabeth Craft Designs Stamen Flowers #1802, die cut 3 times the smallest stamen die in some White Soft Finish Cardstock.
- Color the stamen in the same Distress Oxide color as the center of the flowers.
- Roll the stamen in your fingers.
- Holding on tho the roll stamen, dip the tip in some Kids Choice Glue and dip in some Teal Silk Microfine Glitter from Elizabeth Craft Designs. Let air dry.
- Once dry, adhere the stamen in each flowers with some Kids Choice Glue.
Hope you enjoyed this tutorial !
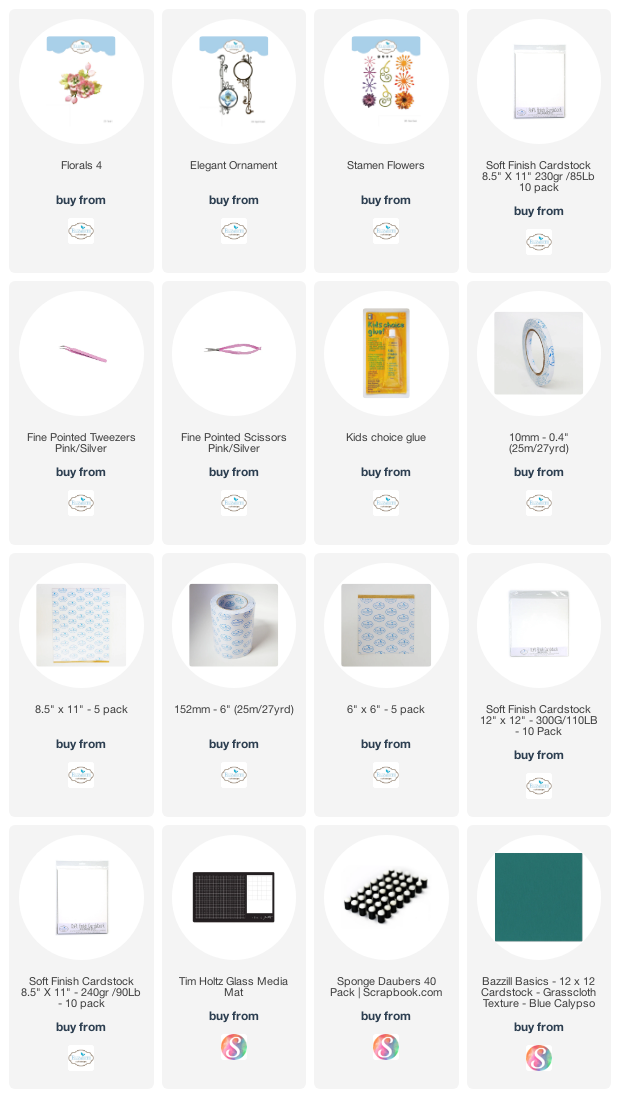
Products used on this card:


No comments:
Post a Comment