
Hello everyone ! Today I present to you a card I made for a friend who bought a new house. All the dies used on this card are from Elizabeth Craft Designs.

I hope you enjoy this tutorial.
Step 1: Card base
- Cut 11 X 5 1/2 inches rectangle in some White Soft Finish Cardstock, fold lengthwise at 5 1/2 to make a 5 1/2 X 5 1/2 inches card.
- In some dark green cardstock, cut a 5 1/4 X 5 1/4 inches square.
- In some brick patterned cardstock, cut a 5 X 5 inches square. (For this card, I used some cardstock from Mintay Papers by Karola - Bloomville Collection.)
- Adhere the layers one on top of the other with some Clear Adhesive Tape.

Step 2: The window
- Cover a 4 1/2 X 3 inches piece of White Soft Finish Cardstock with some Double Sided Tape.
- Release the sheet on one side and apply some gilding flakes to cover the sheet.

- Release the other part of the adhesive sheet and cover with the flakes.
- Burnish the flakes into the paper and use a brush to take the excess out.

- Using the die set Planner Essentials - Planner Elements #1659, die cut the strip with the squares in some White Soft Finish Cardstock.
- With some scissors, cut the squares at each end of the strip, leaving you with 6 squares on 3 rows.

- Using the die set Fitted Rectangle #1121, die cut 2 frames with the 3rd and the 4th smallest dies in some White Soft Finish Cardstock.

- Using a finger sponge dauber, shade the frames and the 6 squares strip with some Weathered Wood and Shabby Shutters Distress Oxide.
- With some Double Sided Tape, trap the 6 squares strip on the gilding flake cardstock between the 2 frames.

- Put some foam adhesive on the back of the window and adhere to the card.
- Add the leaves on the card with some Kids Choice Glue.
Step 3: Leaves and Berry Branch
- Using the Trio Of Leaves #1464 die set, die cut 6 leaves branches in some dark green cardstock (the one on the right of the package image here).

- Shade the edges of the leaves branches with a finger sponge dauber and some Forest Most Distress Oxide.
- Shape the branches with tweezers to give them dimension.
- Using the Berry Branch #1778 in the new Floral Collection, die cut one branch in some green cardstock.
- With some Nuvo Crystal Drops - Copper Penny, make the berries on the branch.

- Let air dry the berries for 24 hours or so.
Step 4: The flowers
- Using the Florals 3 #1775 from the new Elizabeth Craft Designs collection, die cut 5 of the smallest flowers.

- Shade the center of the flowers with some Shabby Shutters Distress Oxide and a make up applicator, and the edges with some Rusty Hinge and a finger sponge dauber.

- Shape the back of the flowers with the end of the tweezers to give dimension to the petals and cup the middle with a ball stylus or other sharp object.
- Adhere the flowers onto the leaves on the card.

- Finish the card by adding some more branches, the berry branches and some light green stones in the middle of each flower.


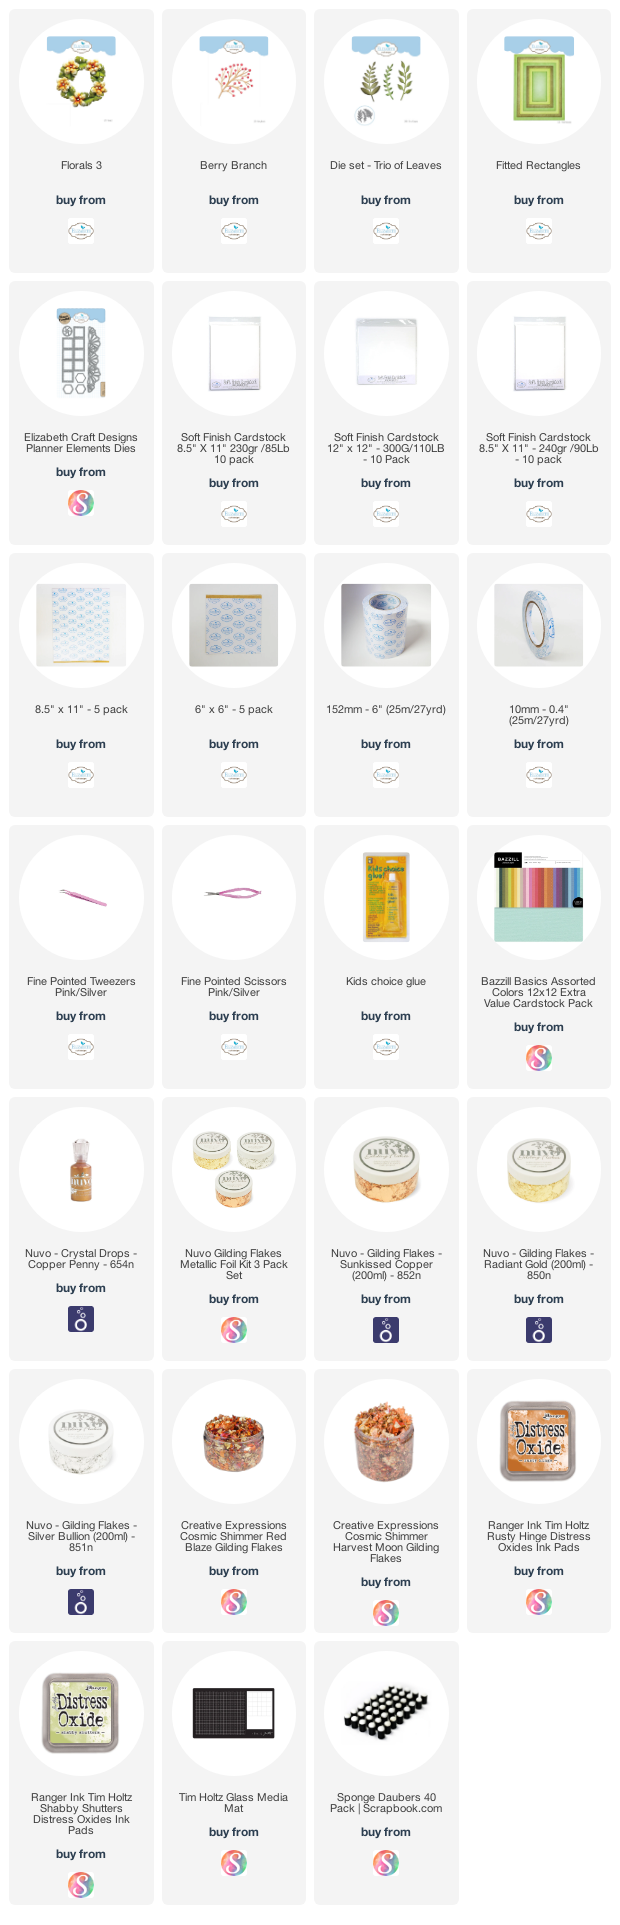
List of products used on this card:
No comments:
Post a Comment