
Hello everyone ! One of my 8 grand-childs is having his birthday this month and of course, I will have to mail his birthday card this year...no party...no hugs...Lets try to make a special one anyway for a wonderful little prince !

I hope you will enjoy the following tutorial.
Step 1: Card Base
- Cut a piece of White Soft Finish Cardstock 11 X 5 1/2 ", score and fold in the middle to get a finish card measuring 5 1/2 X 5 1/2 ".
- Cut a 5 1/2 X 4 1/4" piece of light blue cardstock with white dots to make the sky.
- Shade a stripe 1 1/4" wide with a finger sponge dauber and some Mowed Lawn Distress Oxide to represent the grass.
- Adhere the sky cardstock on to the base card with some Clear Adhesive Double Sided Tape.
- Using the Mushroom House Folding Card #1796 die set, die cut the grass in some White Soft Finish Card Stock.
- Using a finger sponge dauber, shade the grass with some Mowed Lawn Distress Oxide and shade the edges with some Lucky Clover Distress Oxide.
- Wait for the castle to be ready, to adhere the grass pieces on the right spot of the base card.

- Using the Once Upon A Time Accessories #1795, die cut the 3 clouds in some White Soft Finish Cardstock.
- With a finger sponge dauber, shade the edges of the clouds with some Tumbled Glass Distress Oxide.
- Wait for the castle to be ready before adhering the clouds to the sky on the card.

Step 2: The Castel
- Using the Castle Folding Card #1797 die set, die cut the castle on some White Soft Finish Cardstock. For the small parts, die cut them on the same cardstock but lined with some Clear Double Sided Adhesive.
- Shade all the parts of the castle with some Distress Oxide colors of your choice and finger sponge dauber. Here the following colors were used: Tea Dye, Old Paper, Mustard Seed, Forest Moss, Gathered Twigs, Barn Door and Black Soot.


- Assemble the castle as showed on the picture below, adhering the clouds and grass before adhering the castle.

Step 3: The Knight
- Using the Knight's Armour #1794, die cut all the armour parts on some White Soft Finish Cardstock lined with some Clear Double Sided Adhesive.

- Using the Prince #1791 die set, die cut the face of the prince.

- As usual, using finger sponge daubers and some Distress Oxide, shade the knight's parts and the Prince's face using the colors of your choice. Here were used Tattered Rose, Blue Print Sketch, Rusty Hinge, Pumice Stone and Black Soot.
- Assemble the Knights, adhering each piece in place.

Here's some final close-up pictures !


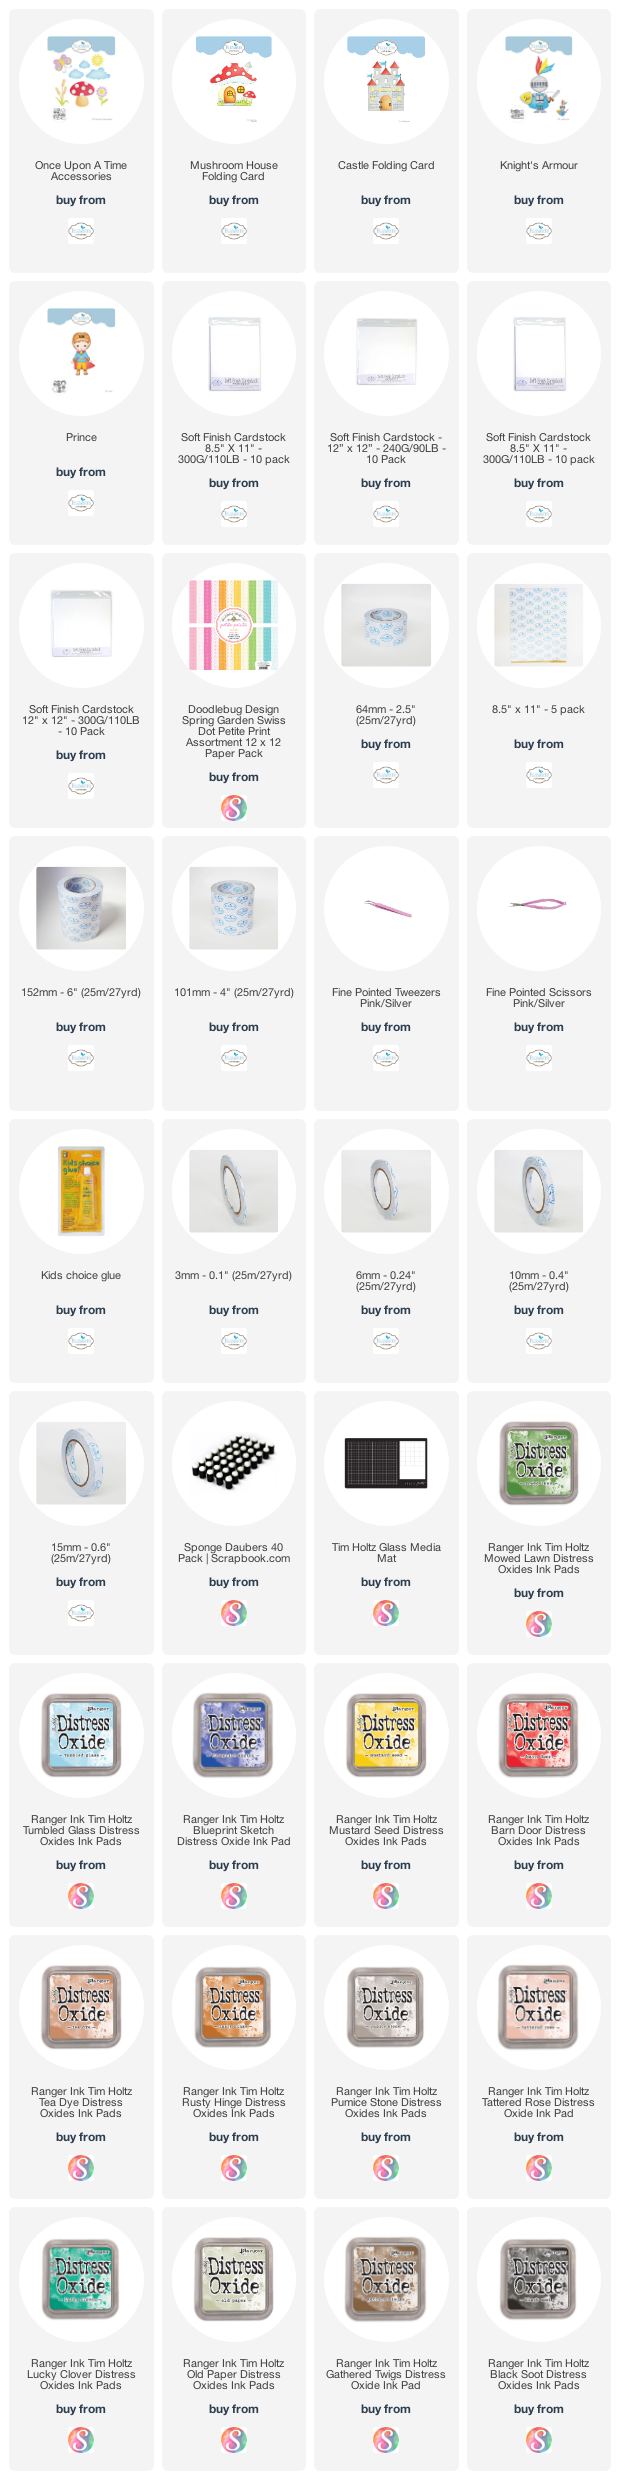
Products used on this card:
No comments:
Post a Comment