Hello everyone ! Now that Halloween as gone, time to focus on my favorite time of the year to make cards...and oh well...my favorite time of the year for a lot of things !
My inspiration came an artist that I love, Sandy Allnock. She made a video on coloring snow angels and I knew right away that I needed to apply that to some of the gorgeous characters from Elizabeth Craft Designs collection of dies.
If you want to take a look at the video from Sandy, hop on over her YouTube channel here.
Step 1: Card base
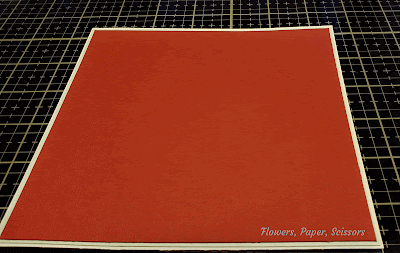
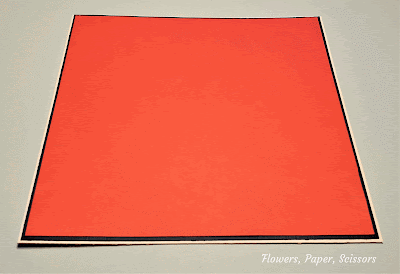
- Both cards are the same size. They are a 6 X 6 inches cards. The little girl cards as a blue-green 5 7/8 inches square and a red 5 3/4 inches square. The fox as a dark blue 5 7/8 inches and a red 5 3/4 inches square.
- Adhere all the layers on the card base for each card.
Step 2: Background
- Cut a 5 1/2 square in some White Soft Finish Cardstock for each card.
- Following Sandy Allnock instructions in her video, draw the tree in the corner of each card, using Copic Markers.
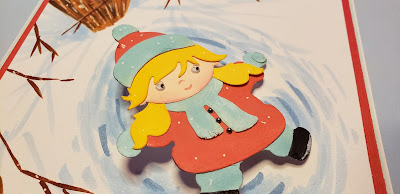
- For the little girl, die cut the coat, pants and hat from the Santa Claus die set #1567.
- Die cut the scarf from the Penguin die set #1566.
- Die cut the pony tail from the Princess set #1790.
- Die cut the face and the bangs from the Fairy 2 die set # 1793.
- Using some markers, color all the part of the girl and assemble.
- Add some googly eyes and some small pearls to the coat to make buttons.
Step 4 Little Fox Angel
Also from some White Soft Finish Cardstock doubled with some Clear Double Sided Adhesive:
- Die cut the fox from the Fox die set #1682, except for the body.
- Using the Penguin die set #1566, die cut the body and the scarf.
- Using some markers, color all the part of the fox and assemble.
- Draw the mouth and the eyes of the fox, using a fine point black marker and make a white dot in the center of each eyes.
Step 5: Back to the background
- On the back of the little girl and the fox, adhere a non-permanent tape and set on there card where you want them to lie.
- Using Sandy's technique again, drawn the lines in the snow around the the characters to make them look as if they were making snow angels.
- Once you are happy with how it looks, remove the tape on the back of the characters and adhere a mini action spring (Action Wobbles) on the back and than on to the card.
And a closer look:
I hope you enjoy this quick tutorial and come back to visit me very soon.
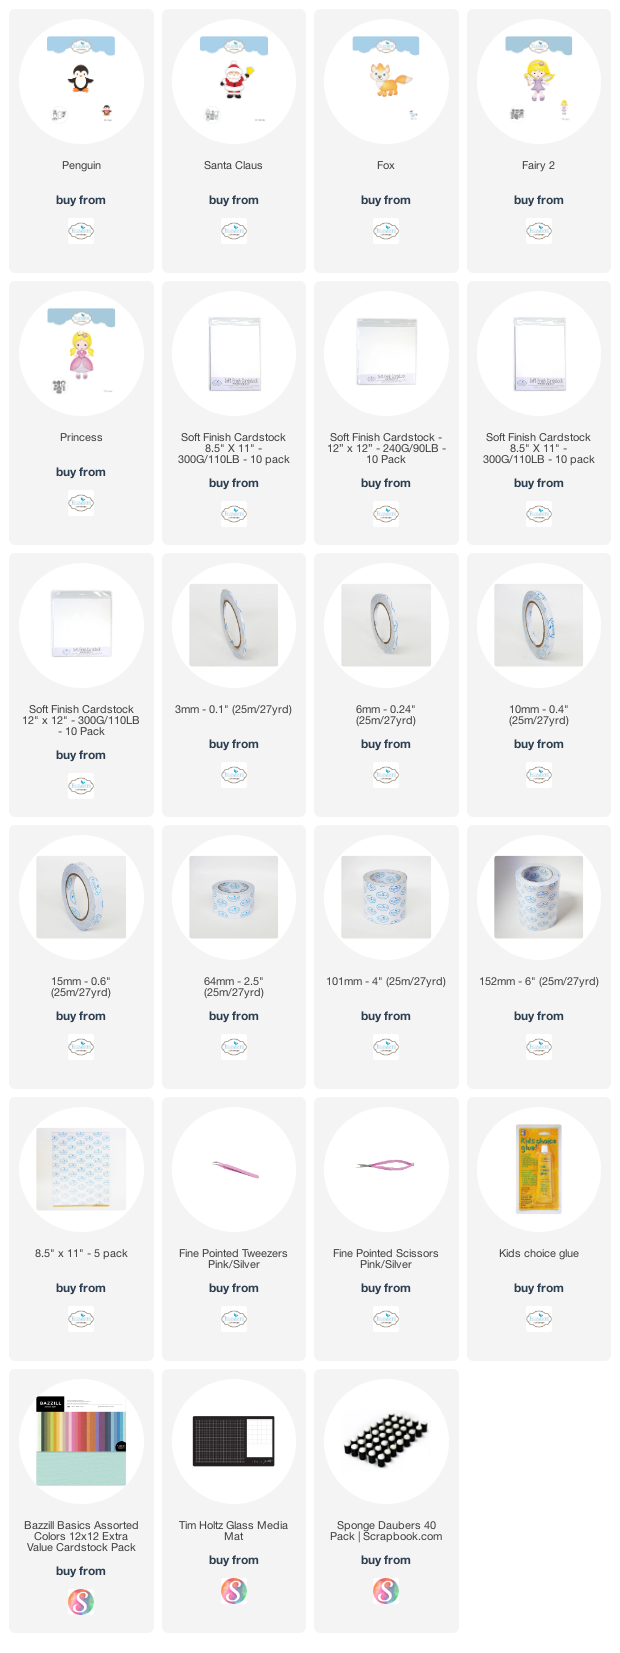
List of products used on this card:


No comments:
Post a Comment