Friday, September 25, 2020

Ginko Miror Card

I have a new card this morning for you ! And yes, it is still a card from the new Floral Collection at Elizabeth Craft Designs.


Here's the tutorial:

Step 1: Card base

  • Cut a rectangle 11 X 5 1/2 in some White Soft Finish Cardstock, fold it lengthwise at 5 1/2, to make a square card 5 1/2 X 5 1/2.
  • Cut a square 5 1/4 X 5 1/4 in some cupper mirror cardstock.
  • Cut a 4 1/2 X 4 1/2 square in some Summer Act cardstock #C003.


  • Using the Pizza Box #1781 die set, die cut a scallop frame in the cupper mirror cardstock.


  • In some White Soft Finish Cardstock, die cut the circle in the same Pizza Box die set.
  • Finally, also in the cupper mirror cardstock and the Pizza Box die set, die cut the small circle.


  • Using some Gathered Twig Distress Oxide and a finger sponge dauber, shade the edges of the card base and the scallop circle.
  • With some Clear Adhesive Tape, adhere each layer on top of the other.

Step 2: Ginkgo

  • Using the Ginkgo die set from the Floral Collection, die cut the longest branch in some White Soft Finish Cardstock.
  • Dip the branch and leaves in some Versamark Clear embossing pad.
  • Sprinkle unevenly some Seth Apter Chunky Rust Baked Texture Embossing Powder, heat with heat tool, until completely set.


N.B. I made a sample book with the Essential Planner dies set, it helps when I need to choose a texture or a product from all my craft supplies. It took quite a bit of time to start but now, when ever I buy a new product, I just add it to the book. It is easy to find what I need since they are all separated by brand and than by type of products. For more details, I made a tutorial on this blog that you can read here.


Step 3: Flowers

  • Using the Floral 3 #1775 die set, die cut in some pale yellow one large flower, two medium and one small.
  • Taking a make-up applicator, apply a small touch of green Pan Pastel in the center of each flower.


  • Shape the flowers on a foam pad using tweezers on the back of each petal (or any other fitted toll you have).


  • Cup with the tip of a pen (or a small ball stylus)


  • Using a finger sponge dauber, shade the tips of the petals with some Rusty Hinge Distress Oxide.


  • Using some Kids Choice Glue and a toothpick, glue the Ginkgo and the flowers on the base card.
  • Glue a small pearl in the center of each flower.


Finish card:

Here's a final and closer look at the finish card. I hope you enjoyed this tutorial ! If so please leave a comment after your visit, I would love to hear from you ! 


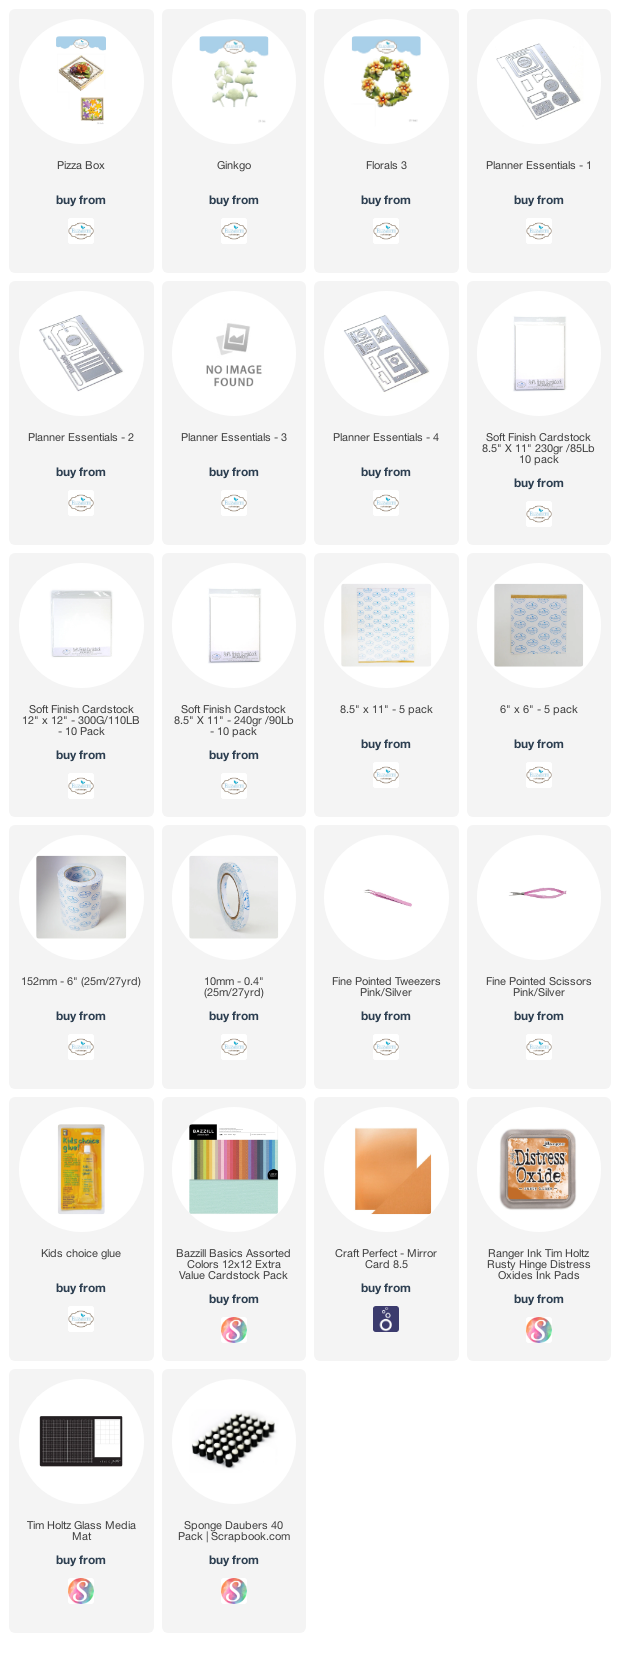
List of the products used on this card:

Tuesday, September 22, 2020

Wine bottle tag

Today I have a tutorial for you to make some wine bottle tags. I used Elizabeth Craft designs dies from the new Floral Collection, Planner Essential Collection, the Watercolor Palette and some Silk Microfine Glitters. 


Here are the steps followed for those tags:

Step 1: Tag base

  • Using the Planner Essential 26 -Planner Pocket 4 - Tag & Poppers #1744, die cut the large tag in some White Soft Finish cardstock.
  • Also from the same set, die cut the tag topper (see pictures) in some White Soft Finish cardstock, double with some Side Adhesive on the front of the cardstock.
  • Remove partially the adhesive protector sheet and dip in some coordinated color of Silk Microfine Glitter. Remove the other part of the adhesive protector sheet and holding on with this piece on the glittered part, dip the remaining adhesive part in the glitter. Polish with the fingers to make the glitter really shinny.
  • Cut a 4 1/2 X 2 3/4 rectangle in some Summer Act Cardstock #C003. Adhere on the tag piece with some Clear Adhesive Tape.
  • On the top of the tag, adhere the glittered piece.


Step 2: Flowers

  • On some White Soft Finish Cardstock, lightly spray some water.
  • With a large very wet brush, put some Watercolors from the Watercolor Palette on the cardstock. I used some yellow, orange and red for the flowers and some greens and teal blue for the leaves. Let air dry.


  • When dry completely dry, die cut the leaves and the flowers from the Elizabeth Craft Designs die set Floral1 #1773.

  • Shape the flowers to give them dimension using the handle of the Fine Pointed Tweezers by pushing down the tweezers on the back of the flowers. You can push pretty hard to really shape the petals. 
  • Do the same with the leaves.


  • Tap the petals and the leaves on a clear embossing pad and cover with some clear embossing powder.
  • Melt the powder with a heating tool.
  • Let the leaves and petals cool down, reshape a bit with the tweezers. 


  • Adhere the leaves and flowers on the tag with some Kids Choice Glue.
  • Glue some gems in the heart of each flowers.

And here you go, you have some beautiful tags to use with a wine bottle or just like a regular tag with a gift.
I hope you enjoyed this tutorial and please check out the products used on this card below.

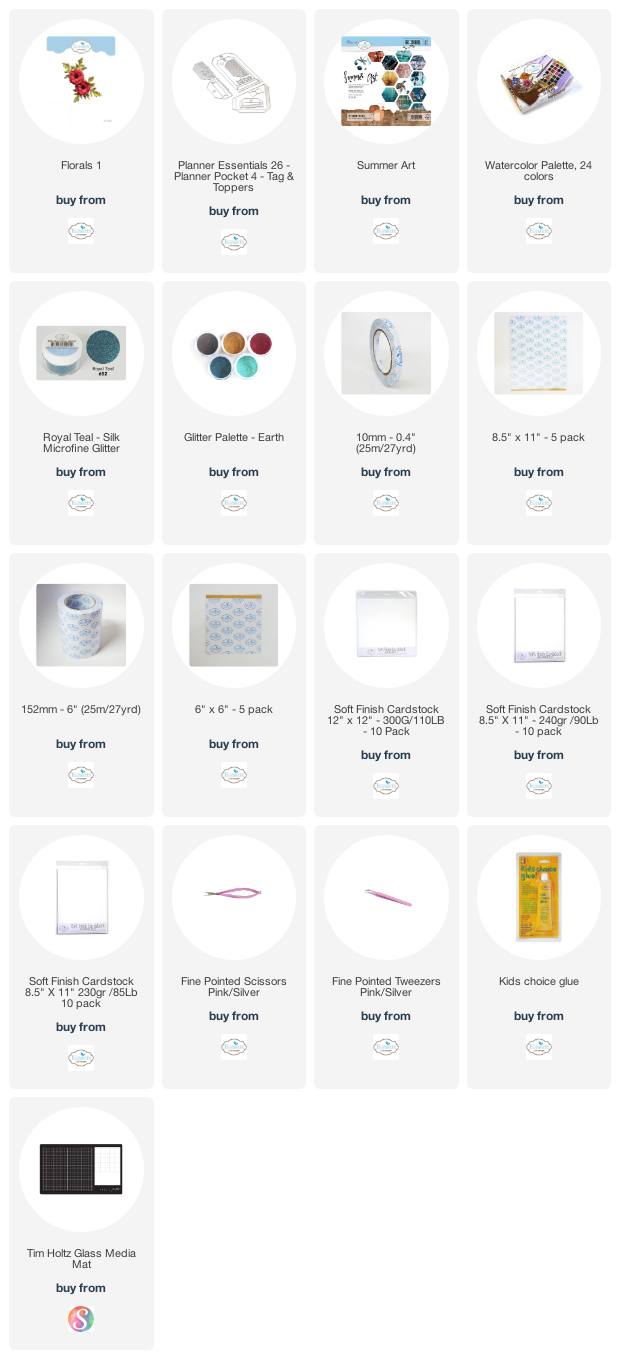
Products used on this card:

Tuesday, September 15, 2020

Strawberry fields for ever !!!

 Hello everyone!


I'm here today to present to you a card I made using the fabulous dies from the new floral collection at Elizabeth Craft Designs. Here's my take on the Strawberry die set.

Step by step tutorial:

Step 1: The card base

  • Cut a 12 X 6 inches rectangle in some White Soft Finish Cardstock, fold in the middle at 6 inches to make a 6 X 6 inches card.
  • Cut a 5 1/2 inches square in some red cardstock.
  • Cut a 5 inches square in some pattern cardstock.
  • Using the Fitted Indented Square #1696 dies set, die cut a frame using the 4th and the 5th smaller dies together, in some White Soft Finish Cardstock.
  • Adhere all layers on top of each other using some Double Sided Adhesive Tape.


Step 2: The Strawberries

  • Using the Elizabeth Craft Designs die set Strawberries #1777, die cut 2 large strawberries and 1 small one, 3 leaves and 3 flowers in some White Soft Finish Cardstock.
  • With some Distress Oxide and some finger sponge daubers, shade the strawberries, leaves and flowers.
  • With some Kids Choice Glue, adhere the centers on the flowers, the calyx of each strawberry.
  • With some round ball stylus, give a shape to the leaves and the strawberries.
  • Adhere everything in the frame, using some glue and some foam dots to give a little bit of dimension to the card.


I hope you enjoyed this tutorial and please come and visit me again !

Here's a closer look at the final card.


Products used on this card:

Sunday, September 13, 2020

Elegant ornament

 Hello everyone !

Today I'm showcasing some new products from Elizabeth Craft Designs in the Floral Collection.


Here's the tutorial.


Step 1: Background

  • Cut a 10 X 6, fold at 5 inches, White Soft Finish Cardstock, to make a 5 X 6 inches card.
  • Cut a rectangle 5 3/4 X 4 3/4 inches in some teal cardstock.
  • Cut a rectangle 5 1/2 X 4 1/2 inches in some Elizabeth Craft Designs Summer Art patterned Cardstock.
  • Adhere the layers on the card base with some Double Sided Tape.
  • Cut a large ribbon strip and adhere on the card with some Kids Choice Glue.


Step 2: Ornament

  • Die cut twice the ornament from the Elizabeth Craft Designs Elegant Ornament #1780 set on a White Soft Finish Cardstock, lined with some Double Sided Adhesive.
  • Adhere the ornaments one on top of the other.
  • Dip the top layer of the ornament in some Versamark (or any other clear embossing pad).
  • Apply an uneven coat of the Baked Texture - Dirty Sand from Seth Apter on the ornament.
  • Heat emboss as usual.
  • Cut the top part of the ornament to fit the card.
  • Adhere the ornament on the card base. 


Step 3: Flowers
  • Using the Elizabeth Craft Designs Flora 4 #1776, die cut one large flower, 3 medium ones and 2 small ones in some White Soft Finish Cardstock.
  • Shade the petals using a finger sponge dauber and some colors of Distress Oxide to match the color of the patterned paper. Let dry.

  • Using any round tool (for example, a stylus), shape the flowers as you like them.
  • With Kids Choice Glue glue the petals two by two, one larger with one smaller, off setting the petals.
  • Using the Elizabeth Craft Designs Stamen Flowers #1802, die cut 3 times the smallest stamen die in some White Soft Finish Cardstock.
  • Color the stamen in the same Distress Oxide color as the center of the flowers.
  • Roll the stamen in your fingers.
  • Holding on tho the roll stamen, dip the tip in some Kids Choice Glue and dip in some Teal Silk Microfine Glitter from Elizabeth Craft Designs. Let air dry.

  • Once dry, adhere the stamen in each flowers with some Kids Choice Glue.
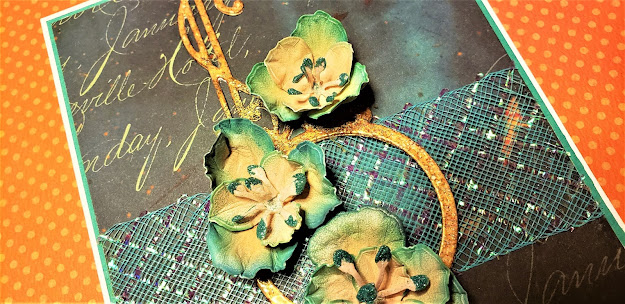
Here's a closer look to the final card.


Hope you enjoyed this tutorial !

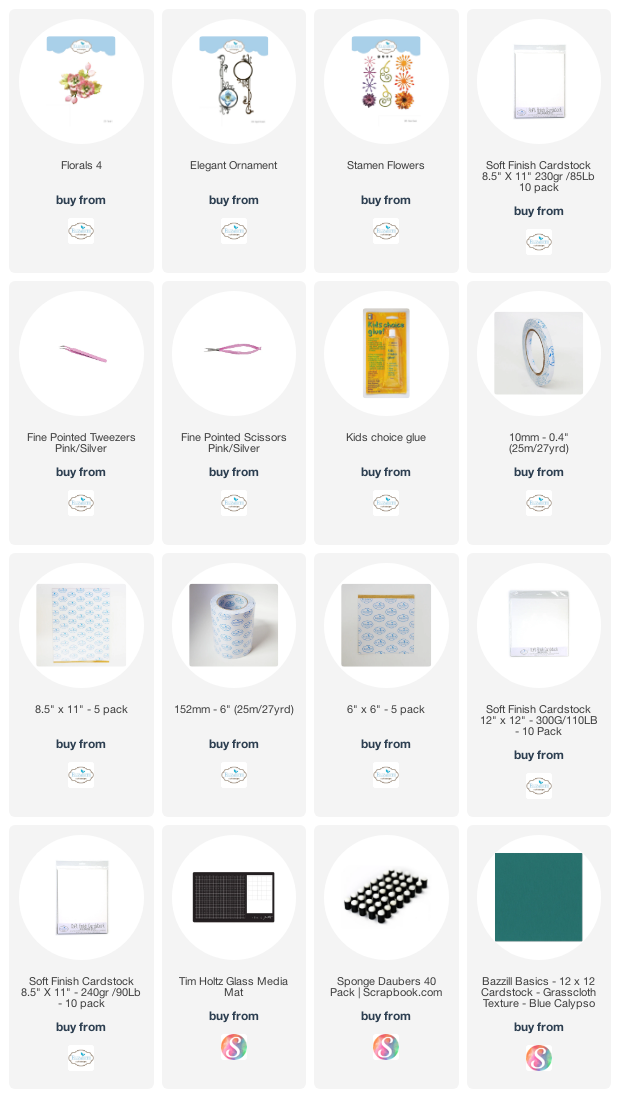
Products used on this card:


Friday, September 11, 2020

Floral fantasy and fairies

 Hello everyone !

This morning I propose to you a card showcasing some of the new dies from Elizabeth Craft Designs in the Floral Collection - that will be on there website pretty soon. Also on this card, were used some dies from Joset also at Elizabeth Craft Designs.


Here's the tutorial.


Step 1 : Background

  • Start with a 6 X 12 piece of White Soft Finish Cardstock, folded at 6, to make a 6 X 6 card.
  • Cut a black cardstock square - 5 7/8 X 5 7/8.
  • Cut a yellow cardstock square - 5 3/4 X 5 3/4.
  • Adhere all the layers one on top of each other.


  • Using Elizabeth Craft Designs dies Organic Triangle Background #1799, die cut into a piece of black cardstock.
  • Using the Stitched Oval #1113 dies set (also from Elizabeth Craft Designs), die cut a frame using the 2 largest dies combined also in black cardstock, lined with Clear Double Sided Adhesive.
  • Adhere the oval frame onto the Organic Triangle background. Cut the excess around the frame.


Step 2: Flowers and leaves

  • Die cut flowers and leaves from Elizabeth Craft Designs Florals 2 #1295. (Available only in your favorite craft store for now.)
  • Color them with Distress Oxide and a finger sponge dauber. Shape the flowers and the leaves with any kind of round object (stylus, back of a small spoon, etc.)


Step 3 : Fairy

  • From the Story Book collection at Elizabeth Craft Designs, die cut all the parts for the fairy in the set Fairy 2 # 1793, except for the dress.


  • Die cut the lantern using the die set Christmas Door #1689 from Elizabeth Craft Designs.


  • Dress-up the fairy using the leaves dies in the set also from Elizabeth Craft Designs Florals 2 #1295. (Available only in your favorite craft store for now.)


Final step: Putting everything together !

  • Center the oval frame on the card and adhere with Double Sided Adhesive Tape.
  • Adhere the fairy on the right side of the card using foam dots. Attache the lantern in her hand.
  • Using Kids Choice Glue, adhere all the flowers and leaves around the oval. Keep one small flower to glue into the fairy's hair.

Here's a final look at that card, I sure hope you like it !


Products used on this card: