Something a little bit different this time for Father's Day ! I decided to make some mini photos albums cards for my father and for my father in-law this year. This as been really fun to make and I think I will make a lot more of those in the next few months !
Front of the card
Opened card
Here are the steps to make the cards:
Step 1: album/card base:
- Cut a 6" X 12" white cardstock.
- Score (on the longer side) at 3"; 3 1/4"; 8 3/4" and; 9".
- Fold on the scored lines towards the inside to make a booklet.
- Using a finger dubber, ink all the edges of the card, as well as the inside scored lines with Vintage Photo Distress Ink.
- On the front left panel, glue down 1" of a 10" piece of string.
- Cut some patterned paper slightly shorter than the panels and cover all faces of the cards with those and some Elizabeth Craft Designs Double Sided Tape.
Step 3: Front embellishment:
- Using Elizabeth Craft Designs Planner Essentials 1 #1603 die set die cut one time the holes reinforcers die on black cardstock doubled with some Elizabeth Craft Designs Double Sided Tape. Make sure to keep the little black round in the middle.
- Adhere 3 reinforcers on top of each other and adhere them on a round foam adhesive. Again, adhere the door knobs one on each side of the card. Also adhere the little round black middles on the middle of the stacked reinforcers.
- Using Elizabeth Craft Designs Stand-Up Helpers 3 - Hinges #963 die set die cut 4 times the same hinge in sand color cardstock doubled with some Elizabeth Craft Designs Double Sided Tape.
- Using a finger dubber, ink all the edges of the card, as well as the inside scored lines with Vintage Photo Distress Ink.
- Adhere the 4 hinges 2 on each sides of the doors.
Step 4 : Inside pockets and tags
- The pockets are made using Elizabeth Craft Designs Planner Essentials 26 - Planner Pocket 4 - Tags & Toppers #1744 die set. Die cut two pockets in some sand color cardstock.
- From the same die set, die cut twice the smaller tag in some coordinated cardstock and the smallest tag topper in some sand color cardstock.
- Using a finger dubber, ink all the edges of the tags and toppers with Vintage Photo Distress Ink.
- Using some some Elizabeth Craft Designs Double Sided Tape, adhere the pockets on each side panel (the one on the right must be reversed).
- With the double sided tape, decorate the tags.
- Add strings to the tags.
- Decorate the pocket to taste.
Step 5 : Inside flaps
- Using Elizabeth Craft Designs Planner Essentials 5 #1607 die set, die cut the plain frame twice in some sand color cardstock and the window frame 4 times in some coordinated cardstock .You will need only the center of the frame and you can keep the 4 frames for later use.
- Using a finger dubber, ink all the edges of the frames and windows with Vintage Photo Distress Ink.
- Using some some Elizabeth Craft Designs Double Sided Tape, adhere the windows on the front and on the back of each panel.
- Using the same tape, adhere the middle panels on the page.
Finishing the card:
To finish the card, add the photos of your choice on the panels and on the tags. I also included a sentiment on the first panel.
Here it is :
Thank you for visiting me and have a Happy Father's Day !
Diane
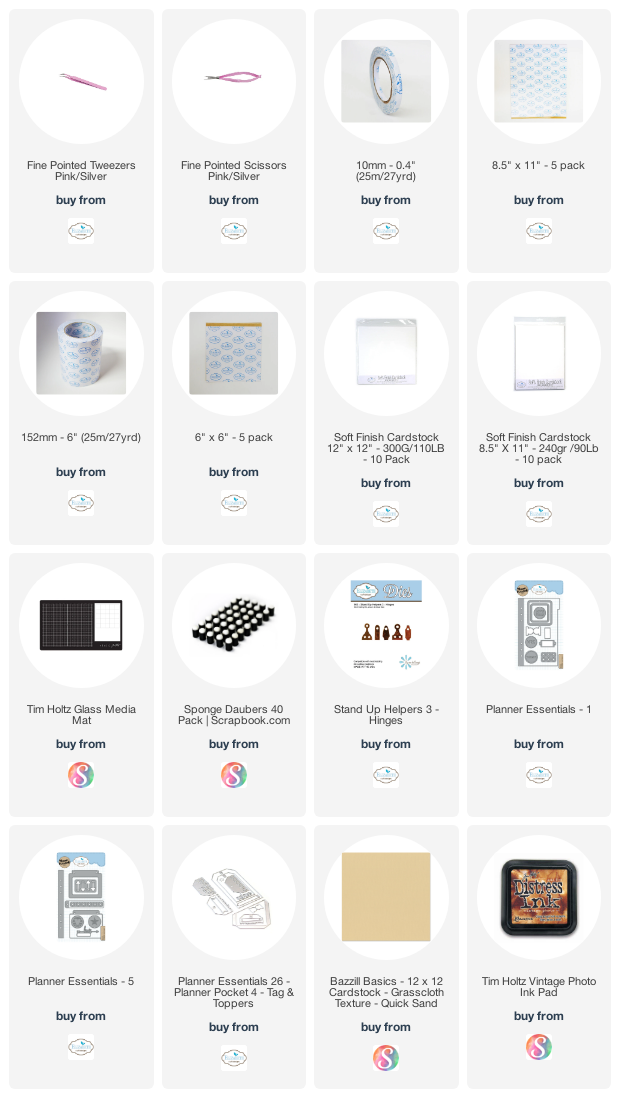
Product used on this card:


No comments:
Post a Comment