Thursday, June 25, 2020

Summery Mini Star Photo Album


Hello everyone !

I'm really happy to present to you a mini photo album that is call a star album. I'm not the one who invented this and I saw many tutorials on this topic.

It looked complicated at first but once I started to follow the steps, it was quite easy. I hope you enjoy this tutorial.

The gorgeous patterned paper I used in this project is Mintay by Karola, the Bloomville collection. If you are not familiar with this company, I invite you to visit http://www.mintaypapers.com/ to see all their gorgeous collections.


Here are the steps to make this album:


Step 1: Cardstock base

  • Cut out 7 times 3" X 6" inches in light blue cardstock.
  • Cut out 7 times 3" X 5 1/2" in light yellow cardstock.
  • Cut out 7 times 2 3/4" X 5" in coordinating patterned paper.

  • Score each rectangle in the middle with scoring board.


  • With some Elizabeth Craft Designs Double Sided Adhesive Tape on the left and on the right side of the rectangles, adhere each light yellow piece onto the blue piece (as shown in the picture below) so that each side touches leaving a gap in the middle when it's open.

  • Again with the tape, do the same thing with the patterned paper, leaving 1/8 of an inch on both sides.

  • Give a good fold to each booklet. 
  • Again with the Elizabeth Craft Designs Double Sided Adhesive Tape, on the back of 6 out of 7 booklets, add the tape on the left edge and on the bottom, leaving 1/4 of an each towards the fold.


  • Glue all the booklets one on top of the other. 
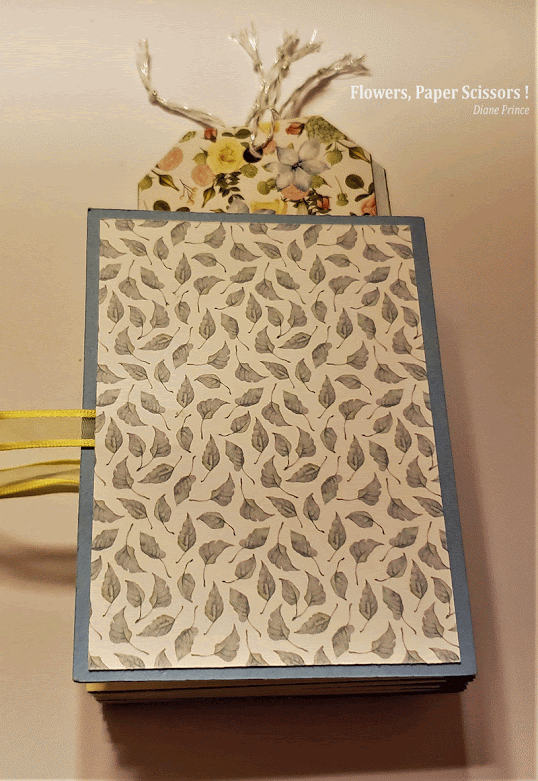
  • Decorate the front and the back of the album, making sure to glue down the ribbon before adhering the patterned paper. On this album, the picture of the front was embellished with some flowers from Elizabeth Craft Designs Cherry Blossom Branch #1732 . One big flower and two small ones were cut from this set and colored with Distress Ink. Green leafs were also added.
Front:

Back:


Step 2: Tags

  • Using Elizabeth Craft Designs Planner Essentials 26 Planner Pocket 4 - Tag and Toppers #1744 dies set, die cut 6 of the smaller tag in the same yellow cardstock and 6 smaller topper in some coordinating cardstock. 


  • With a finger dauber and some Vintage Photo Distress Ink, shade the edges of the tags.


  • Using some Elizabeth Craft Designs Double Sided Adhesive Tape, adhere the toppers on each tag.
  • Tie a twig on top of each tag.
  • With the Elizabeth Craft Designs Camera Insert Kit #1763, die cut the needed number of corners to old the small pictures on the tags and in the mini album. 


  • Tie a twig on each tag.


  • Adhere the pictures on the tags.


Completed album look like a star when it is open like so:


I hope this tutorial gave you the motivation to try it ! Those albums are really fun to make and they can be very nice gifts to give to love ones !


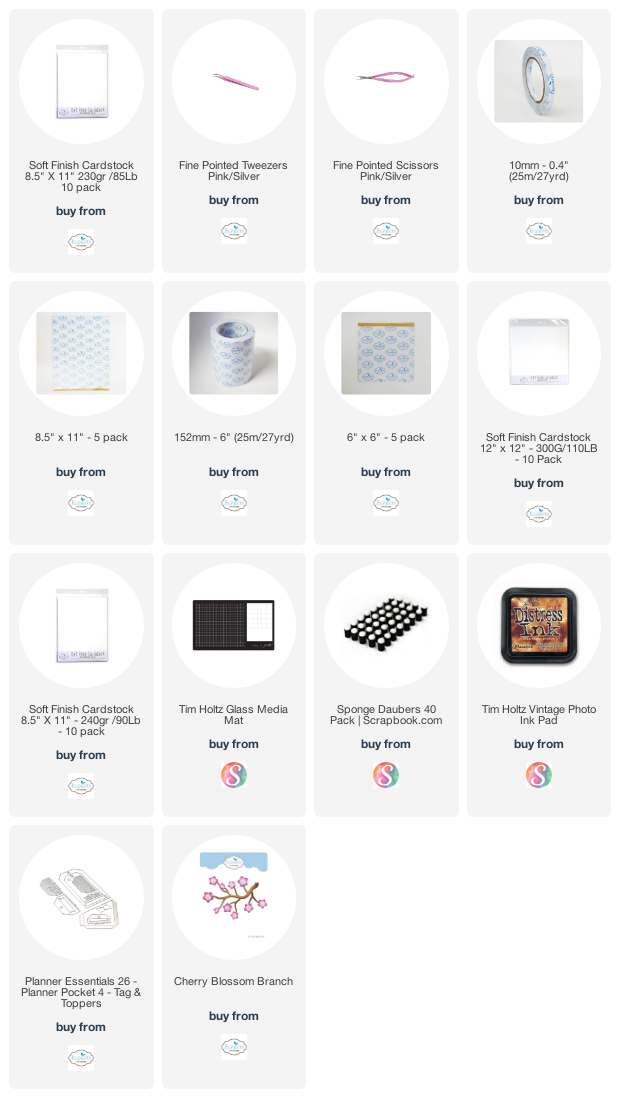
Here are the products I used on this album:


Sunday, June 14, 2020

Happy Father's Day !

Hello everyone ! 
Something a little bit different this time for Father's Day ! I decided to make some mini photos albums cards for my father and for my father in-law this year.  This as been really fun to make and I think I will make a lot more of those in the next few months !

Front of the card

Opened card


Here are the steps to make the cards:
Step 1: album/card base:
  • Cut a 6" X 12" white cardstock.
  • Score (on the longer side) at 3"; 3 1/4"; 8 3/4" and; 9".
  • Fold on the scored lines towards the inside to make a booklet.


Step 2: Patterned cardstock:
  • Using a finger dubber, ink all the edges of the card, as well as the inside scored lines with Vintage Photo Distress Ink.
  • On the front left panel, glue down 1" of a 10" piece of string.
  • Cut some patterned paper slightly shorter than the panels and cover all faces of the cards with those and some Elizabeth Craft Designs Double Sided Tape.


Step 3: Front embellishment:
  • Using Elizabeth Craft Designs Planner Essentials 1 #1603 die set die cut one time the holes reinforcers die on black cardstock doubled with some Elizabeth Craft Designs Double Sided Tape. Make sure to keep the little black round in the middle.
  • Adhere 3 reinforcers on top of each other and adhere them on a round foam adhesive. Again, adhere the door knobs one on each side of the card. Also adhere the little round black middles on the middle of the stacked reinforcers.
  • Using Elizabeth Craft Designs Stand-Up Helpers 3 - Hinges #963 die set die cut 4 times the same hinge in sand color cardstock doubled with some Elizabeth Craft Designs Double Sided Tape.


  • Using a finger dubber, ink all the edges of the card, as well as the inside scored lines with Vintage Photo Distress Ink.
  • Adhere the 4 hinges 2 on each sides of the doors.


Step 4 : Inside pockets and tags

  • The pockets are made using Elizabeth Craft Designs Planner Essentials 26 - Planner Pocket 4 - Tags & Toppers #1744 die set. Die cut two pockets in some sand color cardstock.
  • From the same die set, die cut twice the smaller tag in some coordinated cardstock and the smallest tag topper in some sand color cardstock.


  • Using a finger dubber, ink all the edges of the tags and toppers  with Vintage Photo Distress Ink.
  • Using some some Elizabeth Craft Designs Double Sided Tape, adhere the pockets on each side panel (the one on the right must be reversed).
  • With the double sided tape, decorate the tags.
  • Add strings to the tags.
  • Decorate the pocket to taste.


Step 5 : Inside flaps

  • Using Elizabeth Craft Designs Planner Essentials 5  #1607 die set, die cut the plain frame twice in some sand color cardstock and the window frame 4 times in some coordinated cardstock .You will need only the center of the frame and you can keep the 4 frames for later use.


  • Using a finger dubber, ink all the edges of the frames and windows  with Vintage Photo Distress Ink.
  • Using some some Elizabeth Craft Designs Double Sided Tape, adhere the windows on the front and on the back of each panel.
  • Using the same tape, adhere the middle panels on the page.


Finishing the card:

To finish the card, add the photos of your choice on the panels and on the tags. I also included a sentiment on the first panel.

Here it is :


Thank you for visiting me and have a Happy Father's Day !
Diane

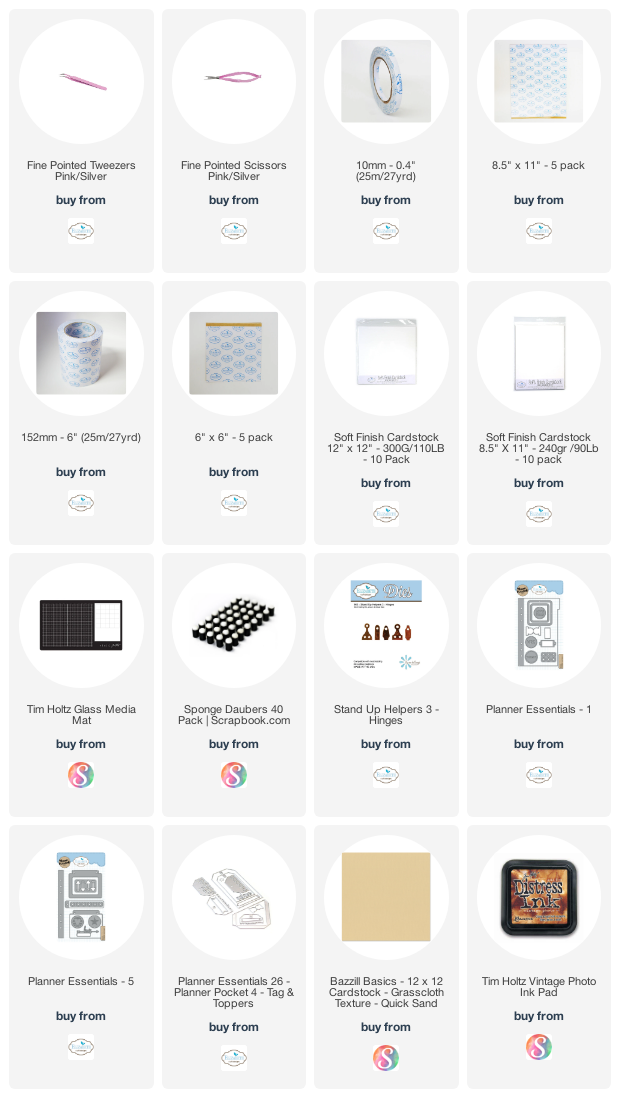
Product used on this card:


Monday, June 8, 2020

Elizabeth Craft Designs cuties

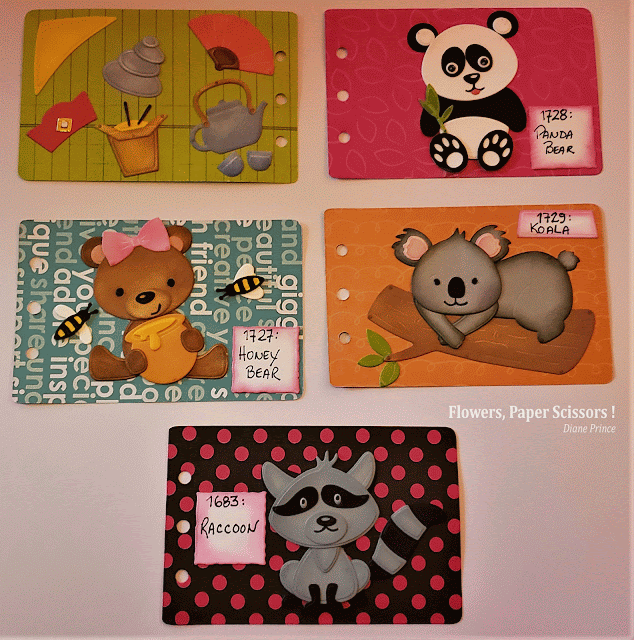
Happy Monday everyone ! Here is my weekend production...I decided to make a sampling booklet with all the cute animals, characters and accessories designed by Joset Van De Burgt that I owned...I still have some to make but here's what I have done so far.

All the products used are listed above the pictures.

For most of the parts, I used some Double Sided Adhesive Tape from Elizabeth Craft Designs, as they make it so much easier to assemble the the part. I have to say they are quite addictive and it has a very therapeutic feel to making them, a little bit like doing puzzles or painting by numbers...

I hope you like them as much as I do !


Thank you for your visit !
Diane

Products used on those samples:


Thursday, June 4, 2020

Watercoloring mania

Hello everyone ! I have to let you in on a little secret...Yesterday I watched a live caption from Elizabeth Craft Designs designer artist, Sue Smith. Watching her watercolor I realized ''Hey ! I can do this '' She's such a great teacher and made it look so much fun and mostly, easy !!!

If you want to watch Sue's video, click here: Sue's video

I got so inspired to use my watercolors palette from ECD and here's what I came up with.


And here's the tutorial if you want to try it !

Step 1: Watercoloring


  • Using the Elizabeth Craft Designs Watercolors Palette, 24 colors, create a background on a piece of waterpaper cardstock larger than 4 1/2 x 4 1/2. 
  • The colors used on this card  for the yellow tones are ''Burnt Umber'', ''Raw Ocher'' and ''Wheat''; for the pink tones are '' Rust'', ''Crimson'' and ''Pink'' and for the blue; ''Prussian Blue'', ''Viridian'' and ''Payne's Gray''.


Step 2: Stamping
  • Using Elizabeth Craft Designs stamps set CS137: Moments Of Life, CS145: Background Stamps 1 and CS147: Background Stamps 3, use some stamps to add texture to the background. By adding some darker pigments on the brush than the colors on the cardstock, it will make the patterns on the stamps stand out.


  • When the background is dry, stamp the ''Love'' stamp (in the CS147:BackGround Stamps 3 set) using some Memento Toxedo Black Ink, in the middle of the background.


  • When dry, sprinkle some gold metallic acrylic paint here and there on the background.
  • Using a fine gold gel pen, enhance the letters of the word Love. (At first, I did try a white gel pen, but later, I decided it look better with gold paint and went over the white with my gold pen). 

Step 3: Die cutting

  • Using Elizabeth Craft Designs Fitted Rounded Squares #1700 dies set, die cut the 2nd largest in the center of the back ground.
  • Fold in half an 11'' x 5 1/2 Elizabeth Craft Designs White Soft Finish Cardstock to make a 5 1/2 x 5 1/2 square card.
  • Cut a 5 1/2 x 5 1/2 square in some Craft Perfect Foiled Kraft Card - Golden Polkadot.
  • Cut a 4 3/4 x 4 3/4 out of some Craft Perfect Mirror Card Satin Effect - Gold Pearl.
  • Cut a Blue Calypso Bazzill cardstock to 4 5/8 x 4 5/8.
  • Adhere each layer on top of the other using some Elizabeth Craft Designs Double Sided Adhesive Tape.


I hope you enjoyed this tutorial and I'll see you later !

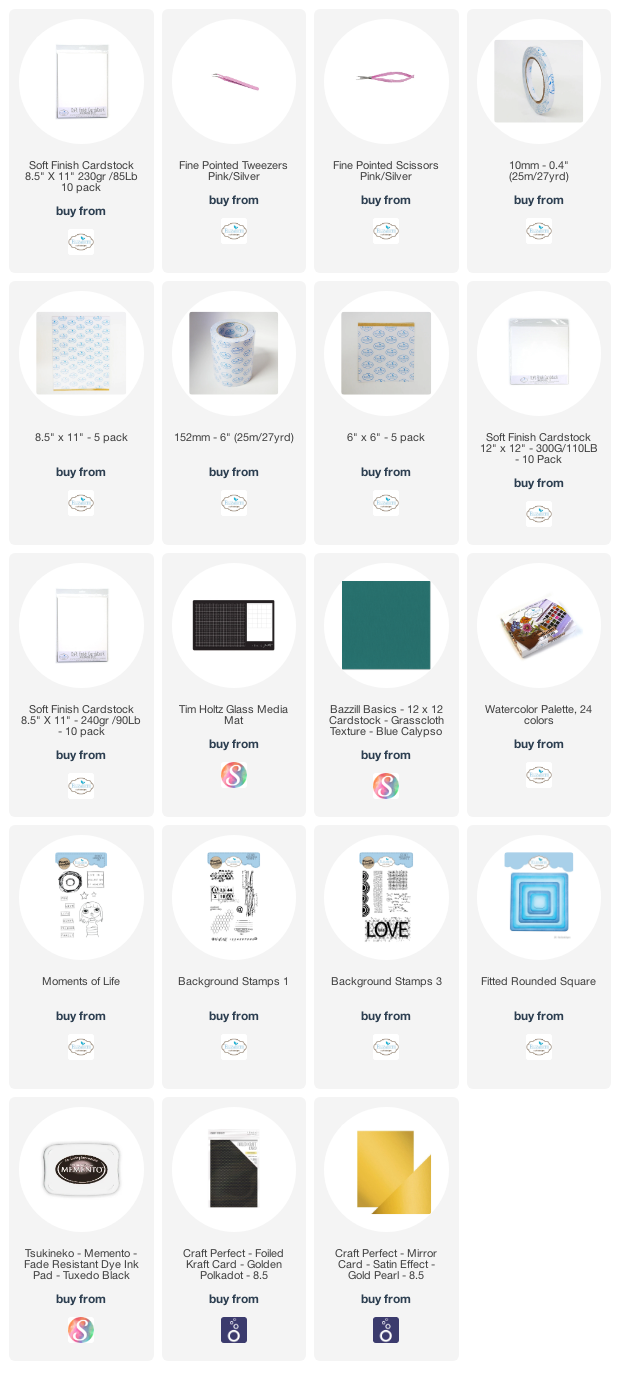
List of products use on this card: