

How lovely is that lighthouse from The Under The Sea Elizabeth Craft Designs new dies collection! I have made a first interpretation of this die that doesn't look as naive as the design is meant to be done. Nothing is wrong with the way it was intended to be done and I will post some other versions of this die that are more conventional. But for now here's my take on this gorgeous die set.
STEPS:
Step 1 : Card base
Step 1 : Card base
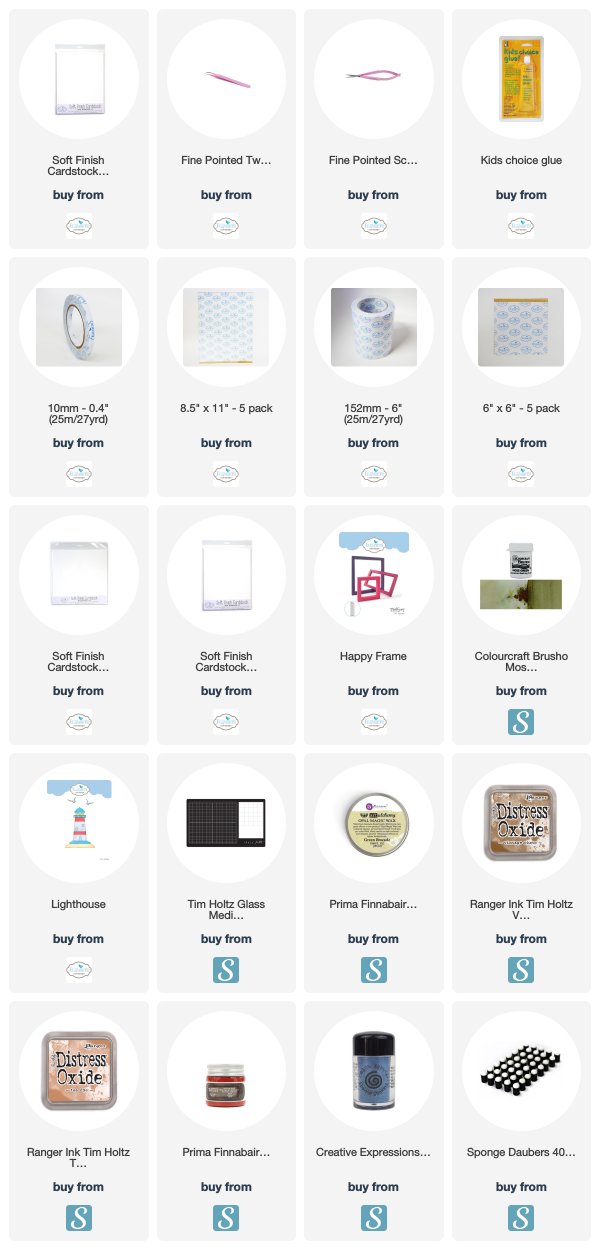
- Cut a piece of White Soft Finish Cardstock to 11” x 5 1/2” and fold in half to make a 5 1/2” square card.
- Cut a 5 1/2” square out of watercolor paper or heavy cardstock, adhere to the card base.

- Using some light patterned paper, cut a 6” x 6” sheet in to strips and than, in to squares.

- Glue the squares (overlapping them) onto the the card base with some liquid glue or Mod Podge.

Step 2 : Mixed Media sky
- Sprinkle some Powder stains onto the background in the top part.
- With a paint brush, apply some white Gesso. Add Powder stains to you liking.

Step 3 : Mixed Media sand
- With a pallet knife, apply some Glass Bead Gel on the lower part of the card.
- Spray some Distress Oxide (Vintage Photo) and integrate with the pallet knife to give texture.
Step 4 : Lighthouse
- Out of the Elizabeth Craft Designs Lighthouse #1754 die set, die cut the lighthouse (2 X) and the birds (1 X each) using some 110 LB White Soft Finish Cardstock.
- Adhere the to lighthouse on top of each other.
- Using a finger dubber, shade the lighthouse with some Distress Oxide (Tea Dye color).
- On top of the Distress Oxide, apply some Green Brocade Opal Magic Wax with fingers.

- Out of the same Elizabeth Craft Designs Lighthouse #1754 die set, die cut the 5 inner pieces of the lighthouse.
- Using a finger dubber, shade the lighthouse with some Distress Oxide (Brushed Corduroy color).
- On top of the Distress Oxide, apply some Green Brocade Opal Magic Wax with fingers.

- Using some Kids Choice Glue, adhere the 5 small inner parts on the lighthouse.

- On the light beige parts, apply some Festive Red Metallic Acrylic Paint.
- Decorate with a red fruit net on the bottom right corner.
Step 5: Frame
- Using Elizabeth Craft Designs Happy Frame die set #1499, die cut 4 X the frame piece and cut to measure 5 1/2” X 5 1/2” once assemble. The paper used here is a piece with some small writings on neutral cardstock.
- Using some strong adhesive, build the frame and adhere on the card.
- On each corner, glue a stone.

No comments:
Post a Comment