

This morning I present to you a birthday card I made for my granddaughter who will turn 9 in March.
Elizabeth Craft Designs has come out with a new collection of wonderful characters from Joset. Here's my take on the mermaid.
I hope you enjoy it !
Diane
STEPS:
Step 1 : Card base
- Cut White Soft Finish Cardstock to 12” x 6”, score at 6” and fold for a 6” x 6” card.
- Cut a 6" square out of some wood patterned cardstock. Die cut a stitched circle in the middle of the square using the second largest die from Elizabeth Craft Designs Stitched Circles #1116 dies set.
- Using the largest circle from the previous dies set, die cut on to a light blue cardstock. On the top part of the circle, draw some clouds with a finger dubber and some white PanPastel.
- Die cut a border for the circle, using the largest and the third largest circles taped together, in the same patterned paper than the 6" square. Shade the edges of the border with some Distress Oxide - Brushed Corduroy and a dubber applicator.
- With a punch, create some small black circles and adhere them on to the border, spacing them evenly like shown in the picture to create some screw around the porthole.
Step 2 : Ocean waves
- Using some 100 lbs White Soft Finish Cardstock, die cut 3 times a wave patterned out of Elizabeth Craft Designs Ocean Edges #1755 dies set.
- On 2 of the 3 borders, apply some Nuvo Embellishment Mousse - Coastal Surf color, with a palette knife. Let air dry or use a heat gun. When it is dry, apply some Nuvo Glimmer Paste - Esmeralda Green randomly on the wave.
- On the remaining wave border, apply some Nuvo Glacier Paste - Frostbite color.
Step 3 : The Mermaid

- Using some 100 lbs White Soft Finish Cardstock, doubled with some Clear Double Sided Adhesive (on the front for the tail, the bras, the head band and the star, and on the back for all the other pieces), die cut all the pieces Elizabeth Craft Designs Mermaid #1746 dies set.
- Remove the release paper on the front of the tail, the bras, the head band and the star. Apply some Cosmic Shimmer Gliding Flakes - Harvest Moon color and rub it in with finger until the pieces are all covered.
- Using your favorite markers or ink medium, color the body, face and hair of the mermaid. Assemble like shown in the picture below.

Step 4 : Treasure Chest and Anchor
- Using some 100 lbs White Soft Finish Cardstock, doubled with some Clear Double Sided Adhesive, die cut all the pieces of the chest and the anchor from Elizabeth Craft Designs Seaweed #1752 dies set.
- Using some Distress Oxide - Vintage Photo and Brushed Corduroy colors, color the bottom and the top parts of the chest.
- Color the contour of the bottom and the top parts of the chest and the anchor with Silver Mist #183 Nuvo Glitter Marker Pen.
- On all parts, sponge some VersaMark Watermark Clear Ink here and there, don't cover completely. Sprinkle some Rocky Road Baked Texture Embossing Powder and melt with a heating tool.
- Add dimension to the treasure itself with some Nuvo Gold Luxe Dream Drops and some Nuvo Golden Sunset Glitter Drops.

Here you go, all left to do is to adhere the parts on the base of the card and you are all set.
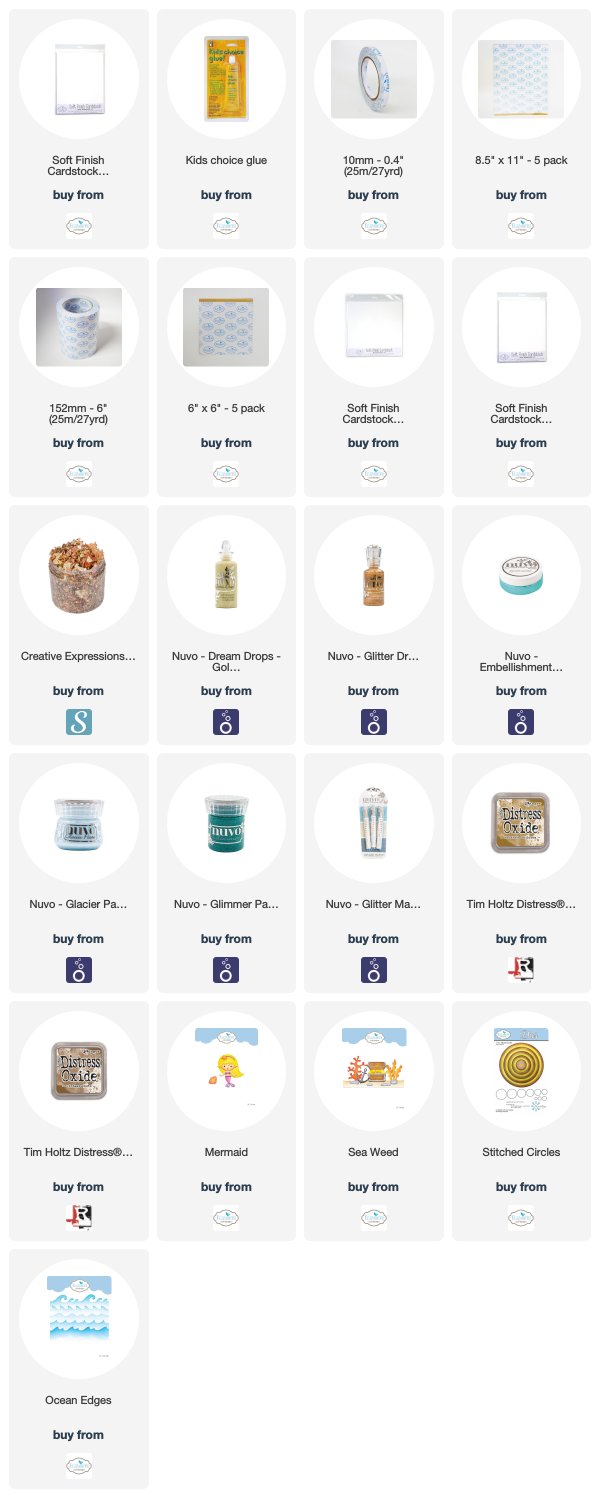
Here are the products that were used on this project:
No comments:
Post a Comment