
Hello everyone !
I have been away for a while working to set up my new business! Now that things have been started, I have time to share with you some magical cards I made using the most cutest and fun dies ever.
First, some cute fairies !

Tutorial
Step 1: The card base
- Cut twice a 10 (fold at 5) X 6 1/4 inches card base out of White Soft finish Cardstock.
- Cut twice a purple 6 X 4 3/4 inches rectangle. Adhere the purple rectangles to the white card bases with some Double Sided Adhesive Tape.
- Cut a 5 1/2 X 4 1/4 inches rectangle out of White Soft finish Cardstock. Line the back of this piece with some Double Sided Adhesive Tape. Using a finger dubber, ink up the white cardstock with some purple and pink shades of Oxide Inks.
- Cut a 5 1/2 X 4 1/4 inches rectangle out of Craft Perfect Silver Screen Glitter Card. Line the back of this piece with some Double Sided Adhesive Tape.
- Die cut both pieces with Elizabeth Craft Designs "Floral Burst Background" #1801 dies set.
- From both die cut sheets, remove the positive piece from the double sided adhesive sheet, leaving the negative parts on the sheet.


- Using a pair of tweezers, take some negative parts of the inked background and adhere them on the positive silver background sheet to recreate some of the flowers. Do the same with the inked background and the negative silver pieces (see pictures above).


Step 2: The fairies
- Line the colored cardstock you will need for each part of the fairies with some Double Sided Adhesive Tape.
- Die cut all the parts using the Elizabeth Craft Designs Fairy 1 #1792 die set.
- Adhere the pieces on the card base like shown in the pictures below.
- Decorate with some pearls and some stones

I hope you have enjoyed this tutorial, please visit again to see some other
cards made with this collection.
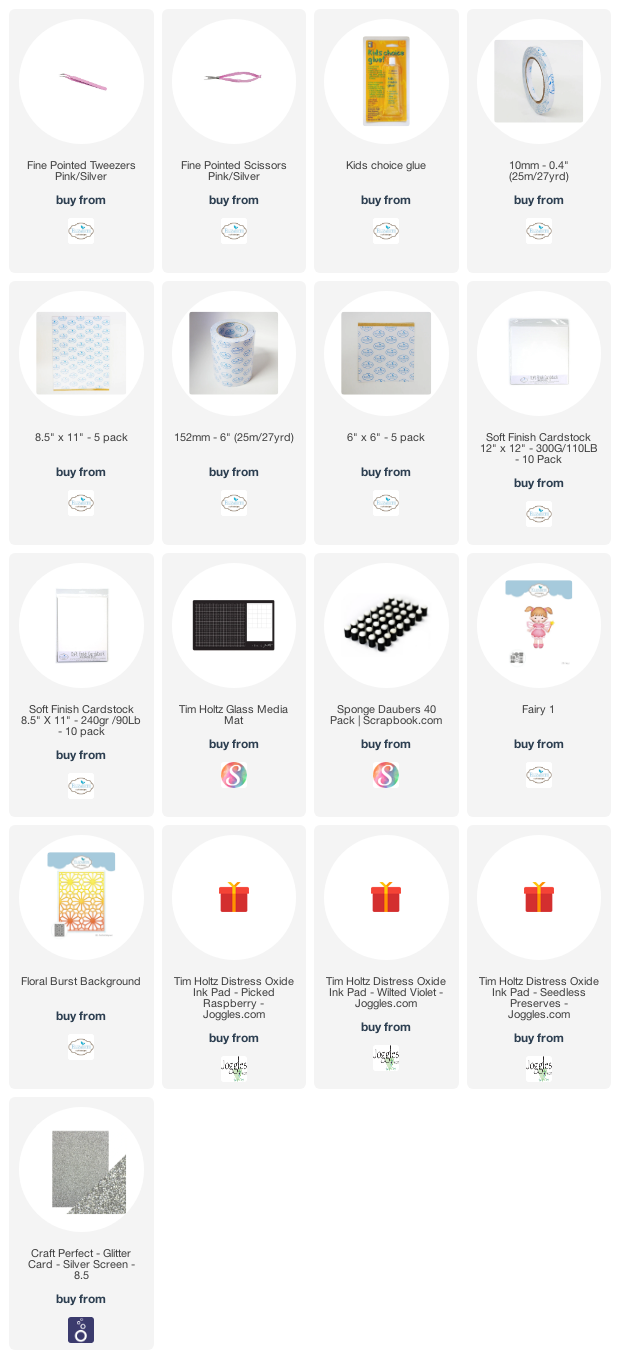
List of products used on this card:
No comments:
Post a Comment