Hello everyone !

This vintage pick-up truck is such a great die set to use on Christmas cards and it is a die you can find at Elizabeth Craft Designs. Here's a card made with this die set.
Here's a quick tutorial on how to make this card.
Step 1: The card base
- Cut a White Soft Finish 9 X 8 inches piece of cardstock , fold in half at 8 inches to make a 9 X 4 inches slimline card.
- Cut a 8 3/4 X 3 1/2 inches red cardstock rectangle and adhere on the card base with some Clear Double Side Adhesive Tape.
- Cut 2 White Soft Finish Cardstock pieces measuring 8 1/2 X 3 1/2 inches.
- On the top part of one of the white piece, using a sponge finger dauber and some Distress Oxide, make a night sky (colors used here are Tumbled Glass, Broken China, Salty Ocean, Blueprint Sketch and Black Soot).

Step 2: The village
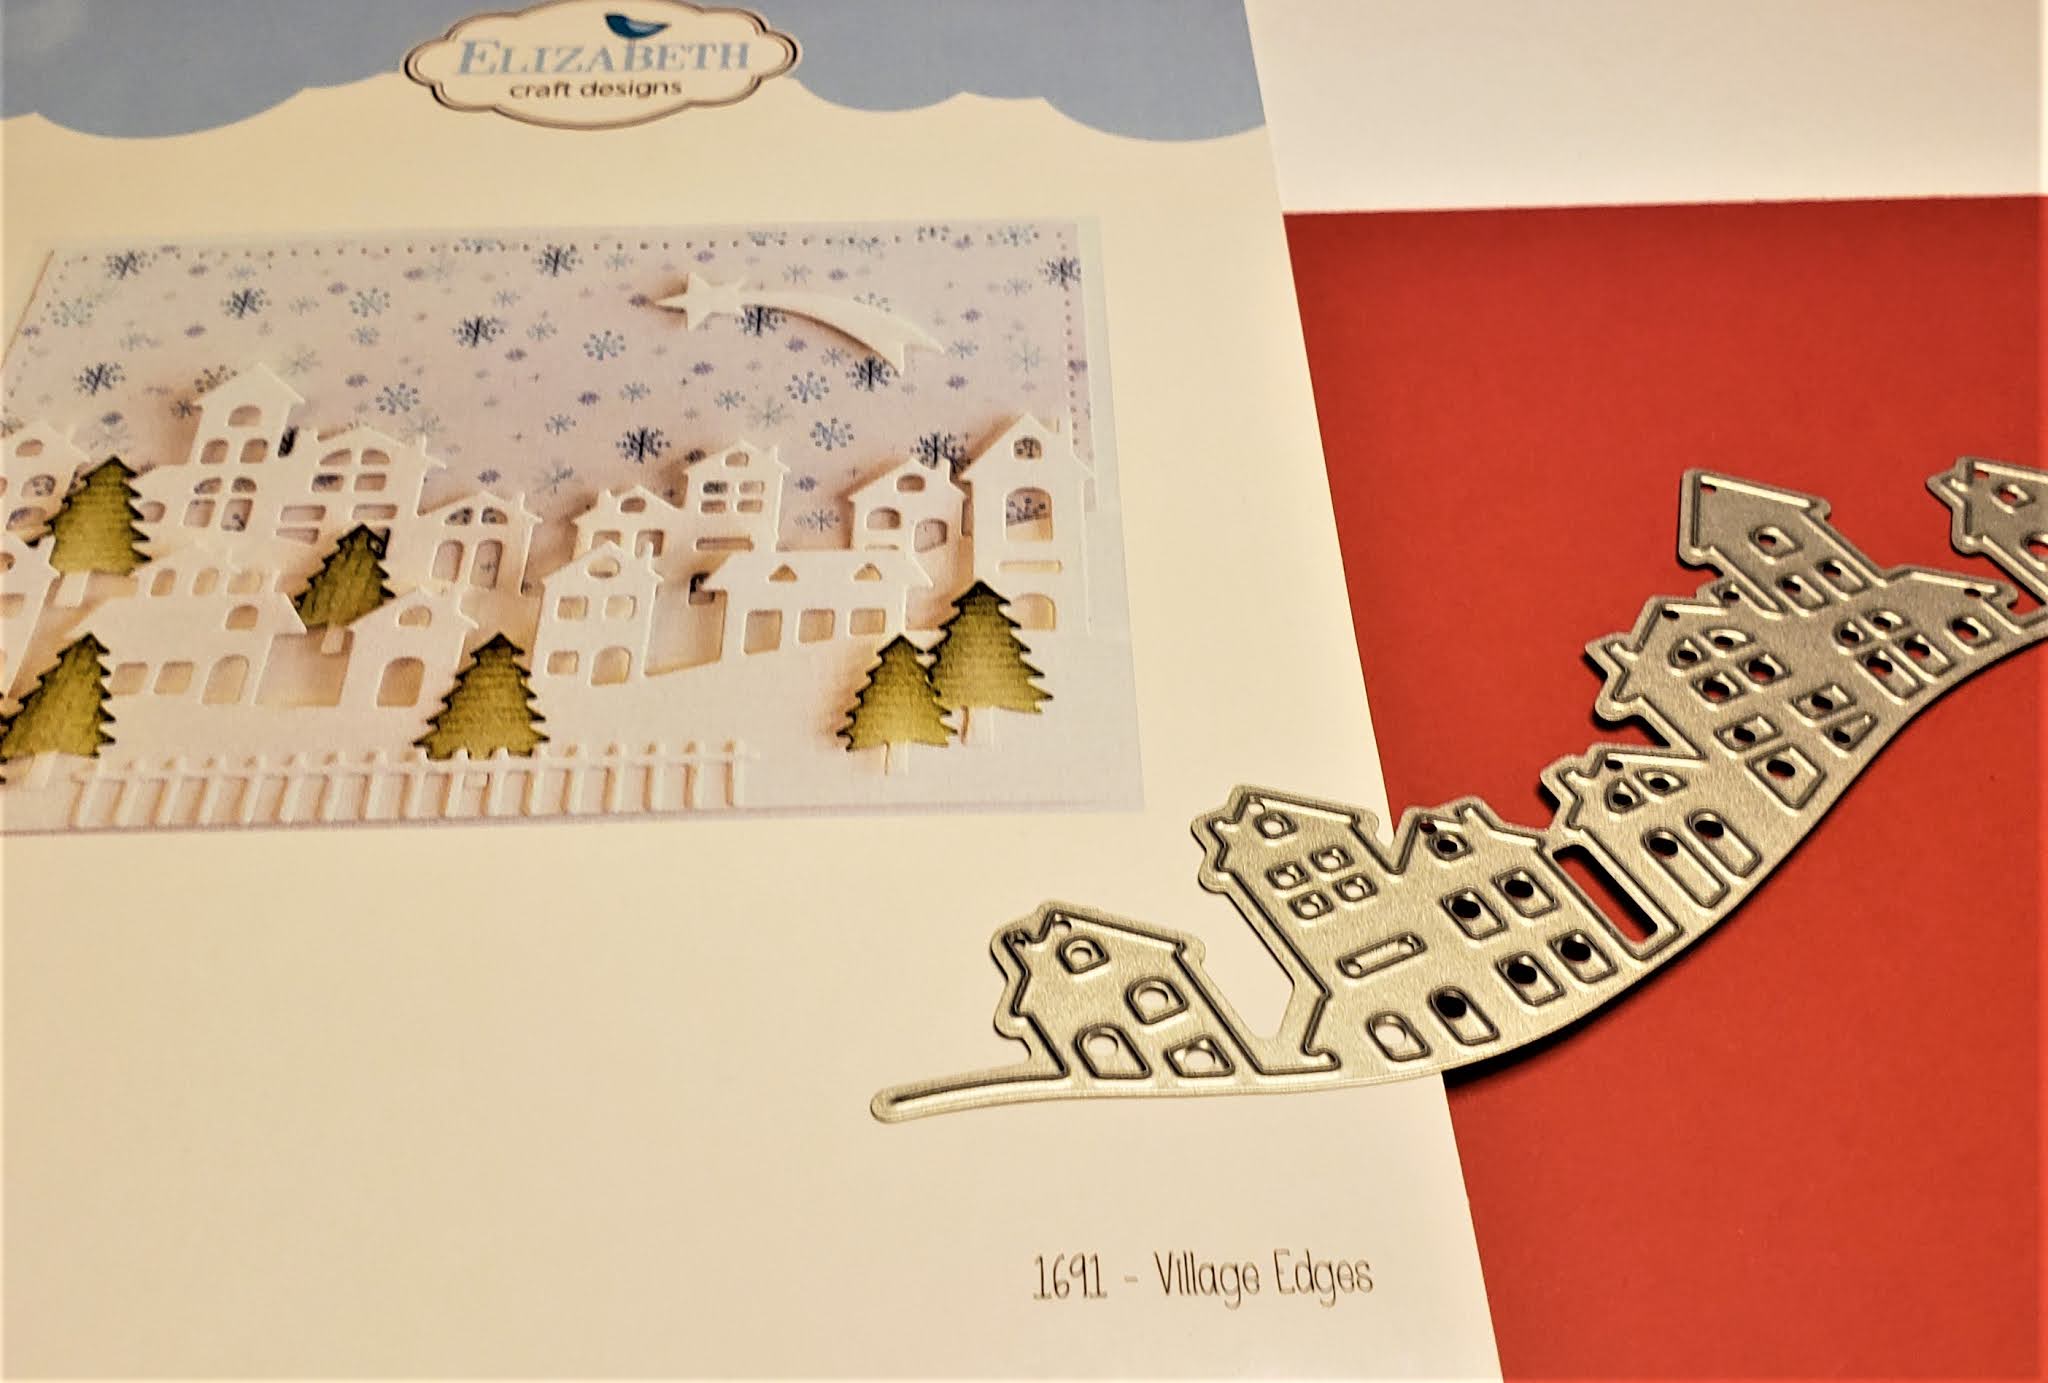
- In the remaining white rectangle, die cut one strip of the house from the die set Village Edges #1691, on the right side of the card.
- White some Fine Pointed Scissors, cut a hill shape on the left side.
- In the back of the houses, glue a piece of yellow cardstock.
- Mixed a small part of Cool Diamond Silk Microfine Glitter with some Transparent Crystal Craft Drops. Using a small brush, apply the mix in the windows. Let dry.
- Using a make-up applicator, apply here and there some Tumbled Glass Distress Oxide.
- Adhere the house strip on the card base with some Double Side Adhesive Tape, leaving a small opening to insert the trees from the next step.

Step 3: The pick-up truck
- Using the Planner Essential 16 - Christmas Tree Page #1677 die set, die cut all the parts of the truck, the tree to put in the back of the truck and 5 other trees, in the colored cardstock of your choice.

- Adhere all the parts of the truck.
- On the trees trunks, draw a line with a brown marker.
- Dip the edges of the trees in some Kid Choice Glue and in some Glitterbitz Frosty Sparkle,

Putting everything together:
- Place the truck on the card and the trees in the background.
- With some a fine pointed white marker, draw some lines on the truck (like snow traces).

I hope you enjoyed this tutorial and come back to see me soon !
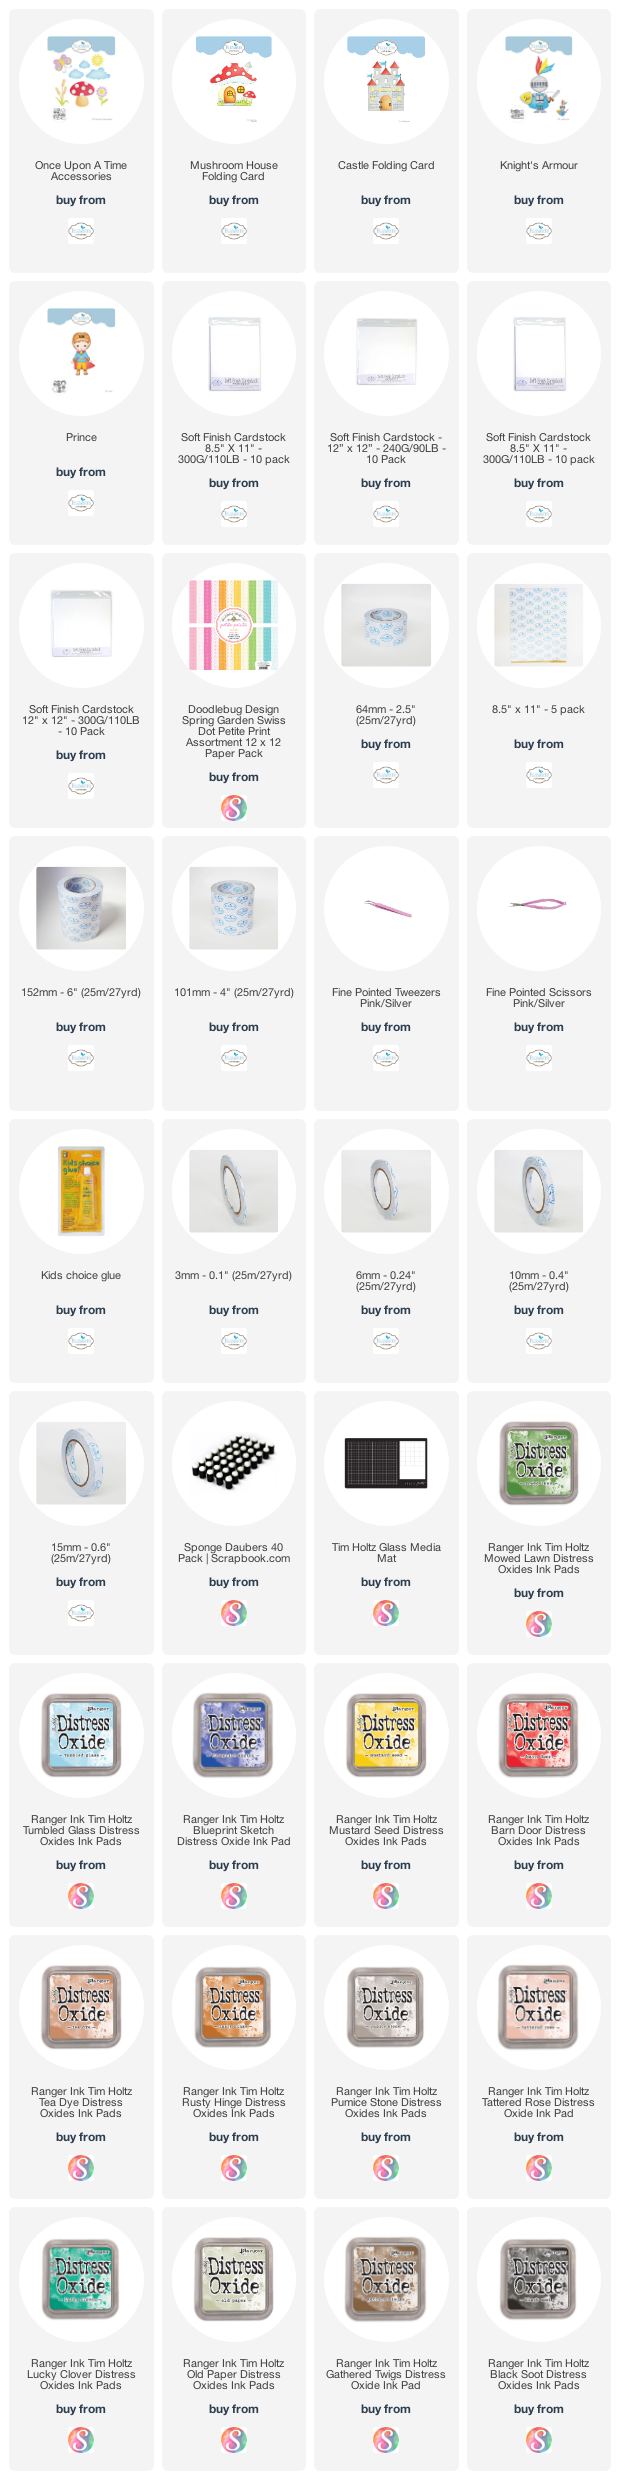
Products used on this card: