

Here's some cards I made using the backgrounds previously done with Gesso and ink powders (See tutorial on February 28th).
For those two cards, I used some flower dies from SusanTierney Cockburn. Those dies are not distributed anymore by Tonic Studios. You still can find some of them online while we are waiting for Susan to find a new home for her wonderful dies.
So here we go...
Step 1: Card base
- Cut some White Soft Finish Cardstock to 12” x 6”, score at 6” and fold for a 6” x 6” card
- Cut a 6" square out of some patterned cardstock. Here I used some cardstock from my stash (.Simple Vintage Botanicals) from Simple Stories.
 |
| 6" square |
- Cut a 5 ½" square out of Bazzill Cardstock - Blue Calypso color.
 |
| 5 1/2 " square |
- Cut a 5 1/4 " square out of some patterned cardstock. Here I used some cardstock from ModaScrap - Butterfly Dream 02.
 |
| 5 1/4 " square |
- In the Blue Calypso Bazzill cardstock with the Stitched Circles #1116 die set from Elizabeth Craft Designs, die cut a circle using the second largest die.
- The mixed media pink centers were die cut using the 3rd largest circle die from the same set.

- Put some Double Sided Adhesive Tape from Elizabeth Craft Designs on the back of each square and layer them as show in the pictures below.


- Using Tonic Studios Susan's Garden Club Pom Pom Dahlia Die Set #3034e, die cut the petals as follow for the big flower: Largest 4 X, second largest 3 X, medium size 2 X and 1 X each two smaller ones.
- Using the same die set, for the small flowers on each side of the big one, die cut the petals as follow: Middle size 2 X (one will be colored green), and 1 X each two smaller ones.
- Using a Mini Mister fill with water, mist very slightly all the petals, facing up. Sprinkle some Infusion - Sunset Beach Ink Powder as light as you can. Quickly pick up the excess with a paper towel to get a really light shading and avoid the Walnut pigment to spread to much. If the color doesn't show enough, repeat the process.

- Let the petals air dry before shaping.
- To learn how to shape those flowers, you can find Susan's video here for the dahlias and you will learn all there is to know on that matter. Also you will fin many more videos on that same Facebook page and learn about the art of flower making.

Step 2: The Japanese Painted Fern
- Using Tonic Studios Susan's Garden Club Japanese Painted Fern Die Set #3032e, die cut the twice the smallest fern for each card, out of some dark green cardstock.
- With a dark grey marker, color the stems of the ferns.
- You can watch Susan's video (mentioned before) for more details on how to shape the ferns.
- Using the Dahlia die set, die cut the 3 leaves 3 X for each card. Shading and shaping of the leaves can also be seen in Susan's video.

- Using the Kids Choice Glue, adhere the ferns, petals and leaves as show in the picture below.


Both of those cards will be sent to some French recipient so I added some French sentiments to them. One says "Happy Birthday" (Bonne fête) and the other one says "Happy Anniversary" (Joyeux anniversaire). I added some Double Sided Adhesive Tape from Elizabeth Craft Designs to the back of some Blue Calypso Bazzill Cardstock and made the die cut of both sentiments.

So here's the final cards in pictures !


I hope you enjoyed this tutorial and please visit again soon !
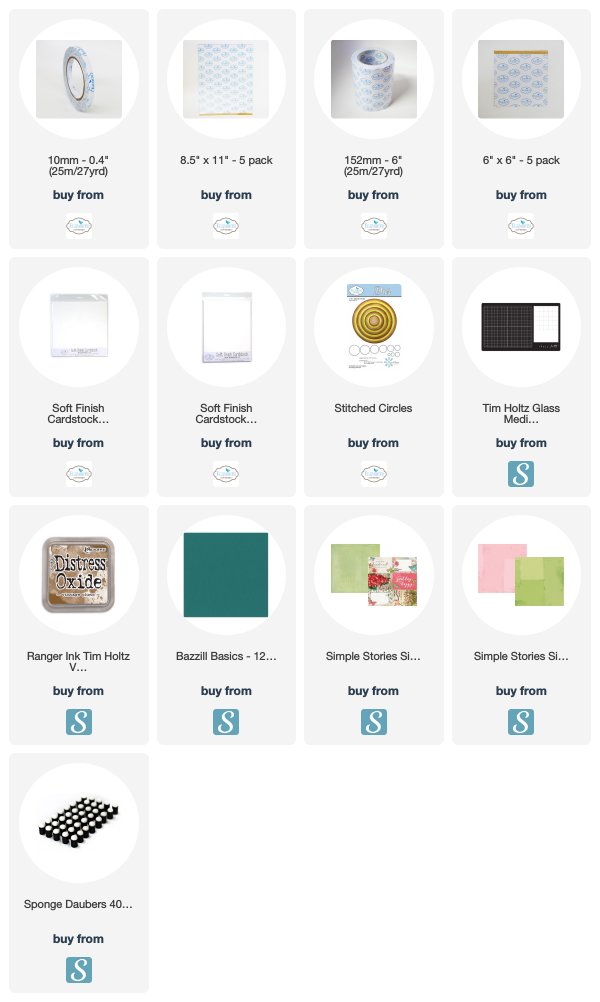
Products used on those cards:
No comments:
Post a Comment