Tuesday, January 26, 2021

The flower lady

 Hello everyone ! 

I have for you this morning a card made with a glittered napkin and some flowers from Elizabeth Craft Design. I hope you enjoy this tutorial.


Here are the steps:

Step 1: Card base

  • Cut a 6 X 12 (fold in half) piece of White Soft Finish Cardstock.
  • Cut a 5 7/8 " purple square.
  • Cut a 5 3/4 " light yellow square.
  • Cut a 5 1/2 " purple square.
  • Adhere each layers on top of each other using some Clear Adhesive Tape.


Step 2: Flowers

  • Die cut flowers and leaves from the Floral 5 #1841 die set, in some White Soft Finish Cardstock.
  • Using some Shimmer Powder and a bottle of water, color the flowers and leaves to fit the colors of the napkins.
  • Let dry a little bit and shape the flowers and leaves with the end of the Fine Pointed Tweezers.
  • Layer the flowers using some Kids Choice Glue and decorate the middle with pearls or gems.


Step 3: Glittered napkin

  • Separate the top layer from other layers of the napkin.
  • Adhere the napkin on a piece of Double Sided Adhesive Sheet.
  • Cover the front of the napkin with a piece of Double Sided Adhesive Sheet.
  • Taking off the release sheet, section by section, sprinkle some Cool Diamond Silk Microfine Glitter #641.
  • Burnish with fingers.


Step 4: Ribbon and extra flowers

    • Die cut flowers from the Floral 6 #1842 die set, in some White Soft Finish Cardstock.
    • Using some Shimmer Powder and a bottle of water, color the flowers to fit the colors of the napkins.
    • Let dry a little bit and shape the flowers with the end of the Fine Pointed Tweezers.
    • Layer the flowers using some Kids Choice Glue and decorate the middle with pearls or gems.
    • Cut a piece of white ribbon and color with the same Shimmer Powder.
    • Let dry and make a bow.


    Finishing the card:
    • Cut the glittered napkin to fit the square base card and adhere with Clear Adhesive Tape.
    • Adhere the flowers on the card using some Kids Choice Glue.
    • Adhere the bow on the card also using Kids Choice Glue.


    I really hope you enjoyed this tutorial, have a great day !


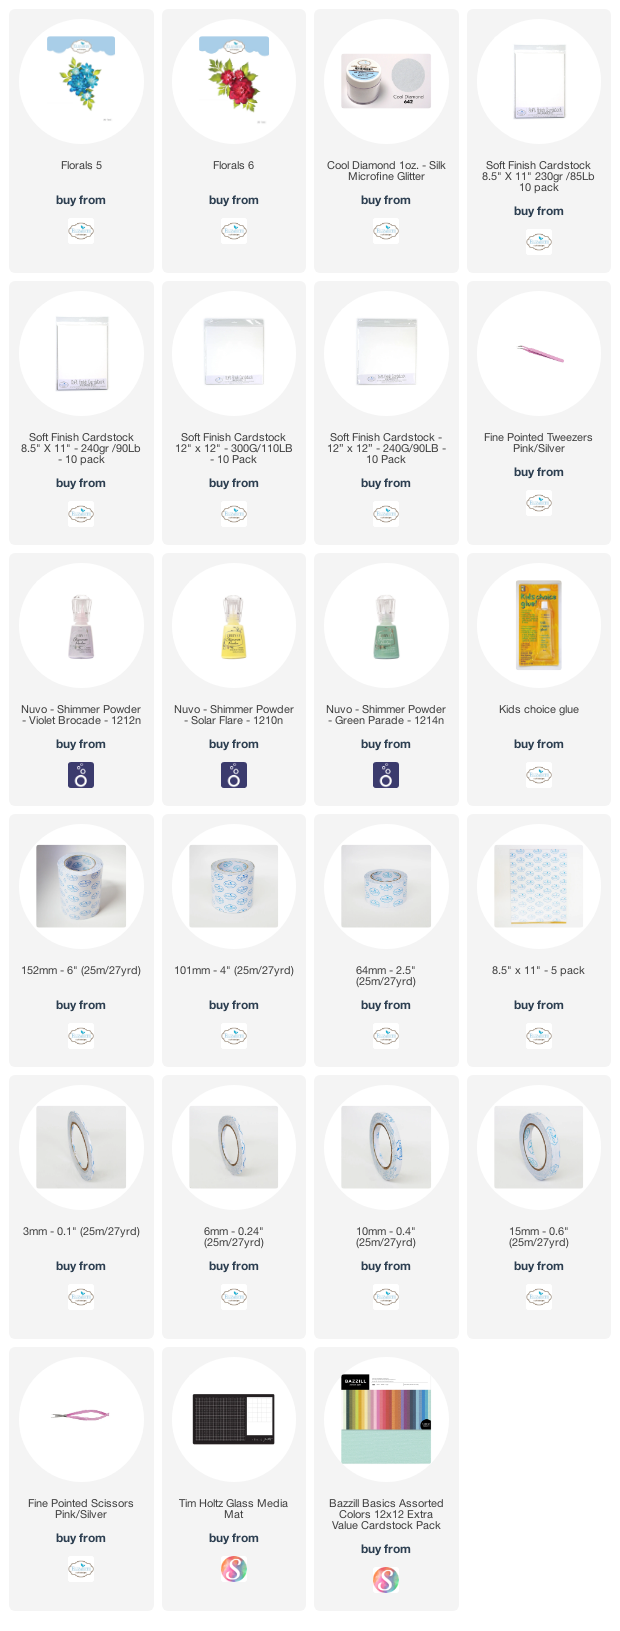
    Products used on this card:

    Monday, January 25, 2021

    New Year Card

    Hello everyone ! 

    Here's my first card of the year. I wish this year to be fill with love, real hugs and kisses ! 


    Steps for this card:

    Step 1: Card base

    • The card base is a White Finish Cardstock 8 1/2 X 7 (fold at 3 1/2).
    • A silver cardstock 8 1/4 X 3 1/4.
    • A patterned cardstock 8 X 3.
    • Adhere all the layers on the card base with some Clear Double Adhesive Tape.


    Step 2: Microfine glitter line

    • At about 1/3 of the top of the card, adhere a line of Clear Double Adhesive Tape, all the way across the card.
    • Peal off the release tape and sprinkle some Silk Microfine Glitter - Color Sky #625.
    • Rub with fingers to polish the glitter on to the tape.


    Step 3: Microfine glitter numbers

    • Using the Blackboard Numbers dies set #1535, die cut "2021" once on some White Finish Cardstock doubled with some Clear Double Adhesive on the front of the cardstock, and once with some silver cardstock with some Clear Double Adhesive on the back of the cardstock.
    • Adhere the silver numbers on the card like shown in the picture.
    • Peel of the release sheet on the remaining numbers and sprinkle some Sky Silk Microfine Glitter
    • Rub with fingers to polish the glitter on to the tape.
    • Adhere on the silver numbers, off setting them a little bit.


    Step 4: Bow

    • Using the Create A Wreath #1816 dies set, die cut the bow twice, like the numbers, once on some White Finish Cardstock doubled with some Clear Double Adhesive on the front of the cardstock, and once with some silver cardstock with some Clear Double Adhesive on the back of the cardstock.
    • Adhere the silver bow on the card like shown in the picture.
    • Peel of the release sheet on the remaining bow and sprinkle with some Sky Silk Microfine Glitter
    • Rub with fingers to polish the glitter on to the tape.
    • Adhere on the silver bow, off setting it a little bit.

    And here's a final look at the completed card:


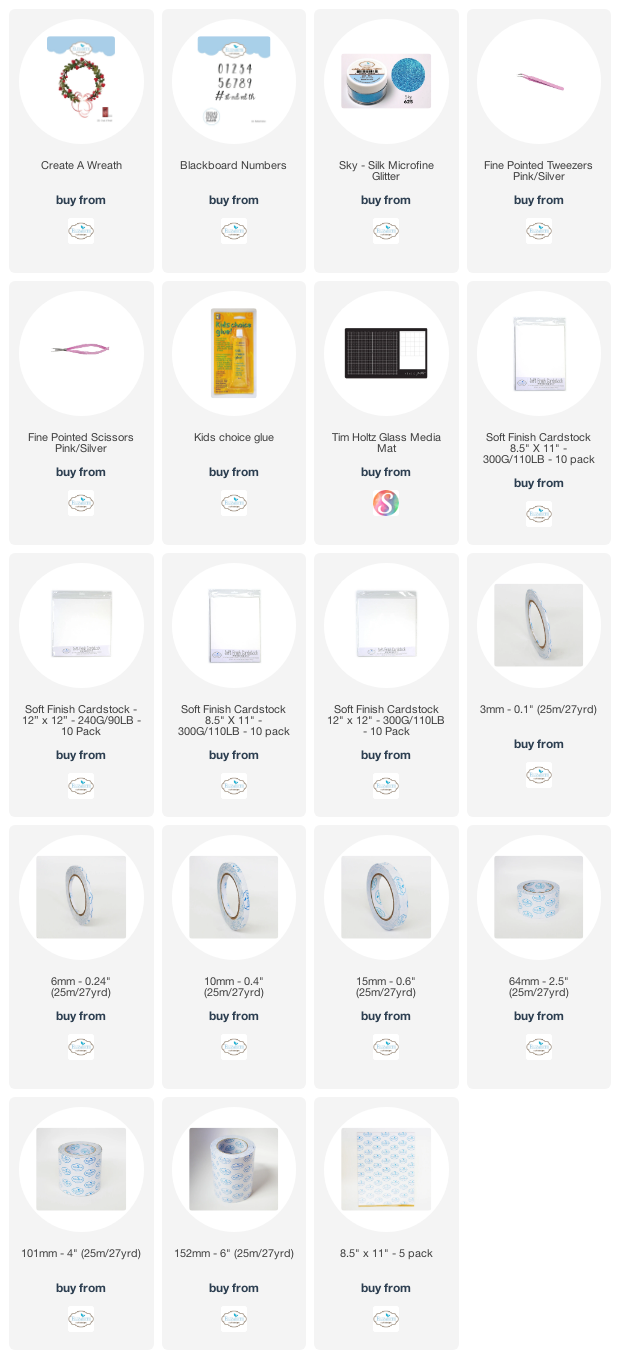
    Products used on this card: